Valentine Candy Box
Tue, Jan 14, 20
Valentine's Day is just around the corner and you'll love this small Valentine's Candy Box that is very simple to make. It is just big enough to give a small token of your appreciation to the people that brighten your day, every day. I found the SVG and PDF Format for this box here at Simply Crafty SVG's.
You can either use the SVG and cut it out with your electric cutting machine or use the PDF and print it out and fussy cut it out with scissors. Let's get started!
Supplies:
Echo Park's Love Story Collection
White Glitter Cardstock by American Crafts
Small Candy of your choice
Tools:
Either an Electric Cutting Machine or a Printer
Scissors (if using the PDF)
Glue of your choice
12 Inch Paper Trimmer
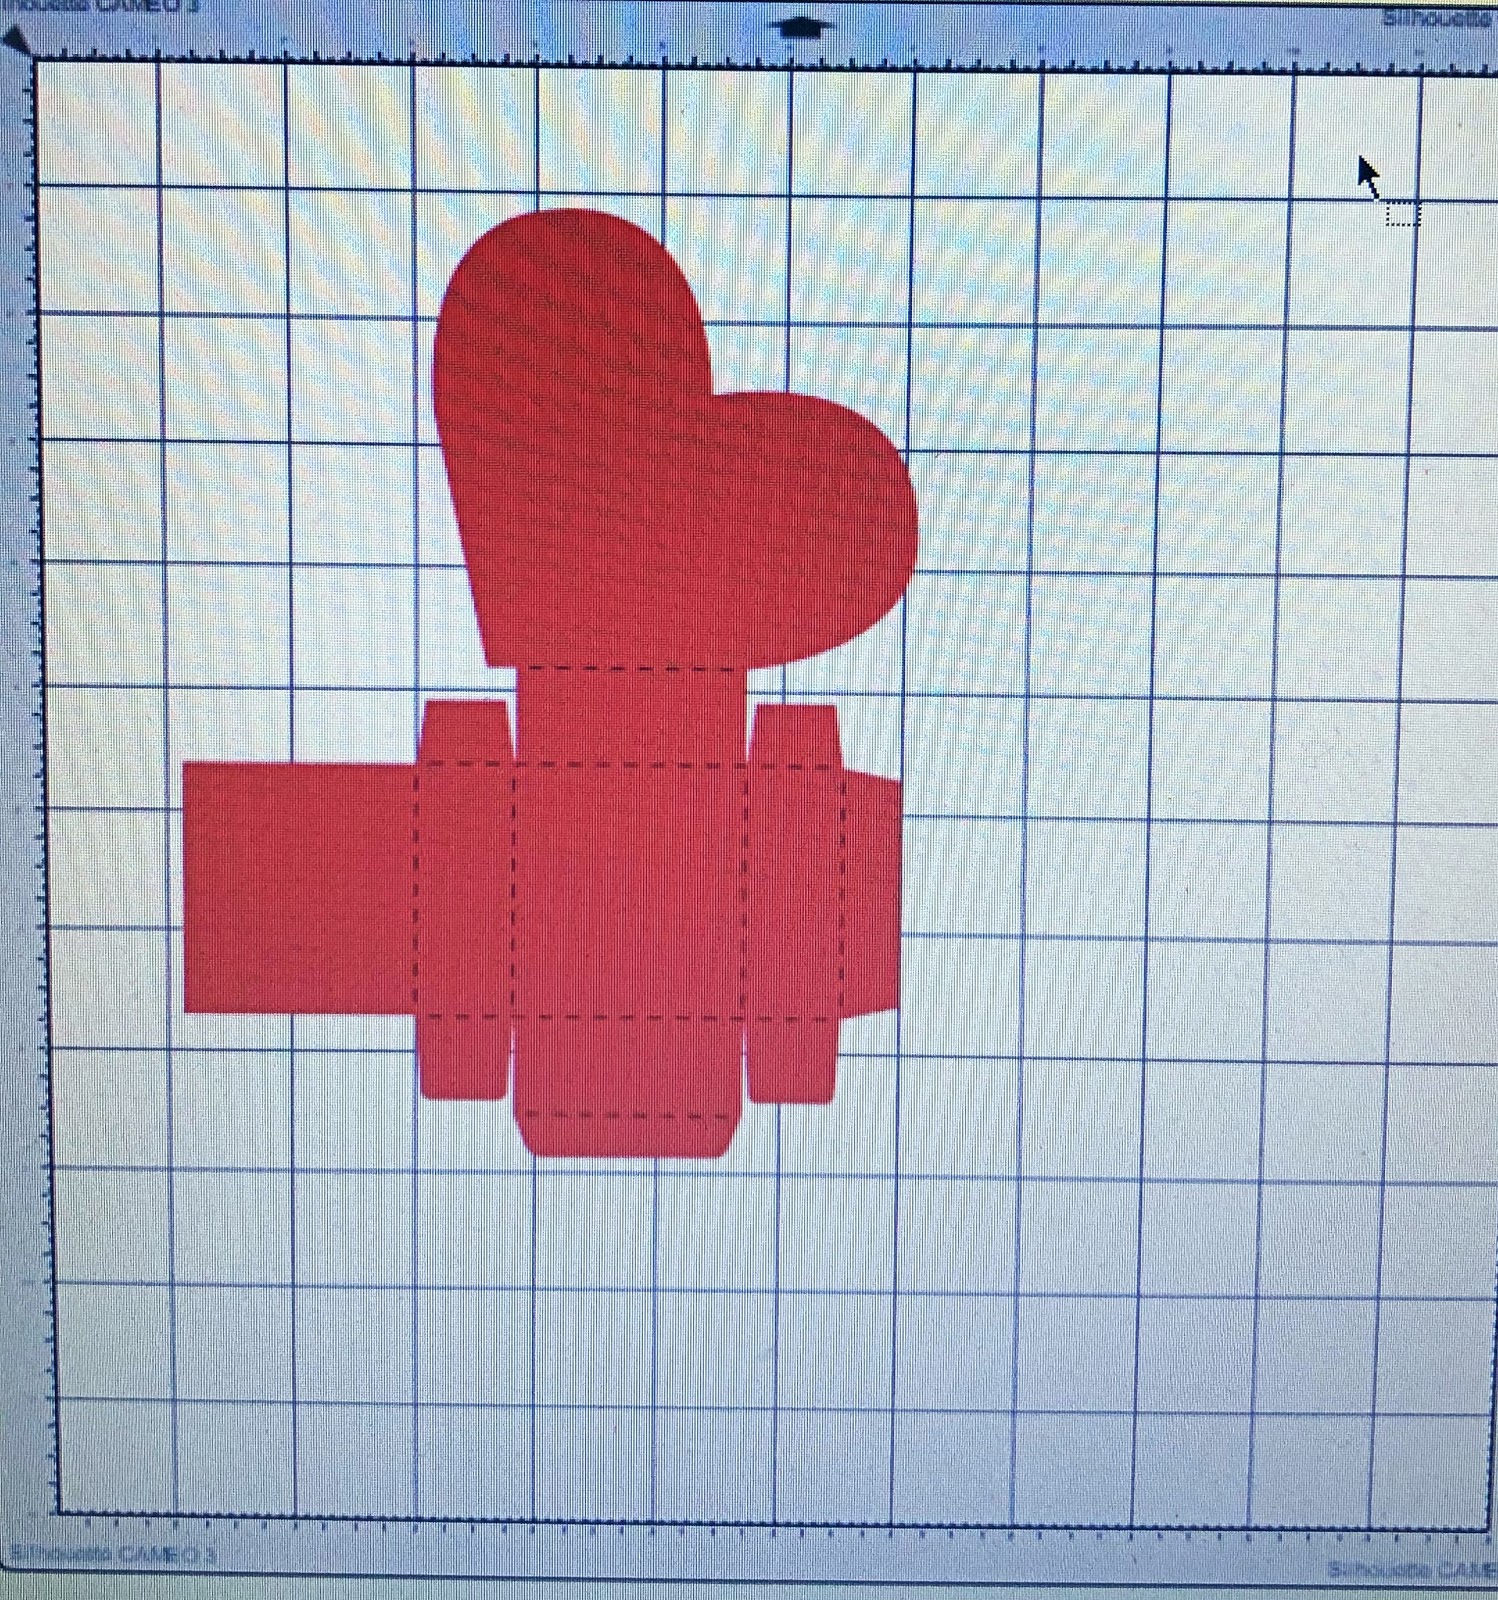
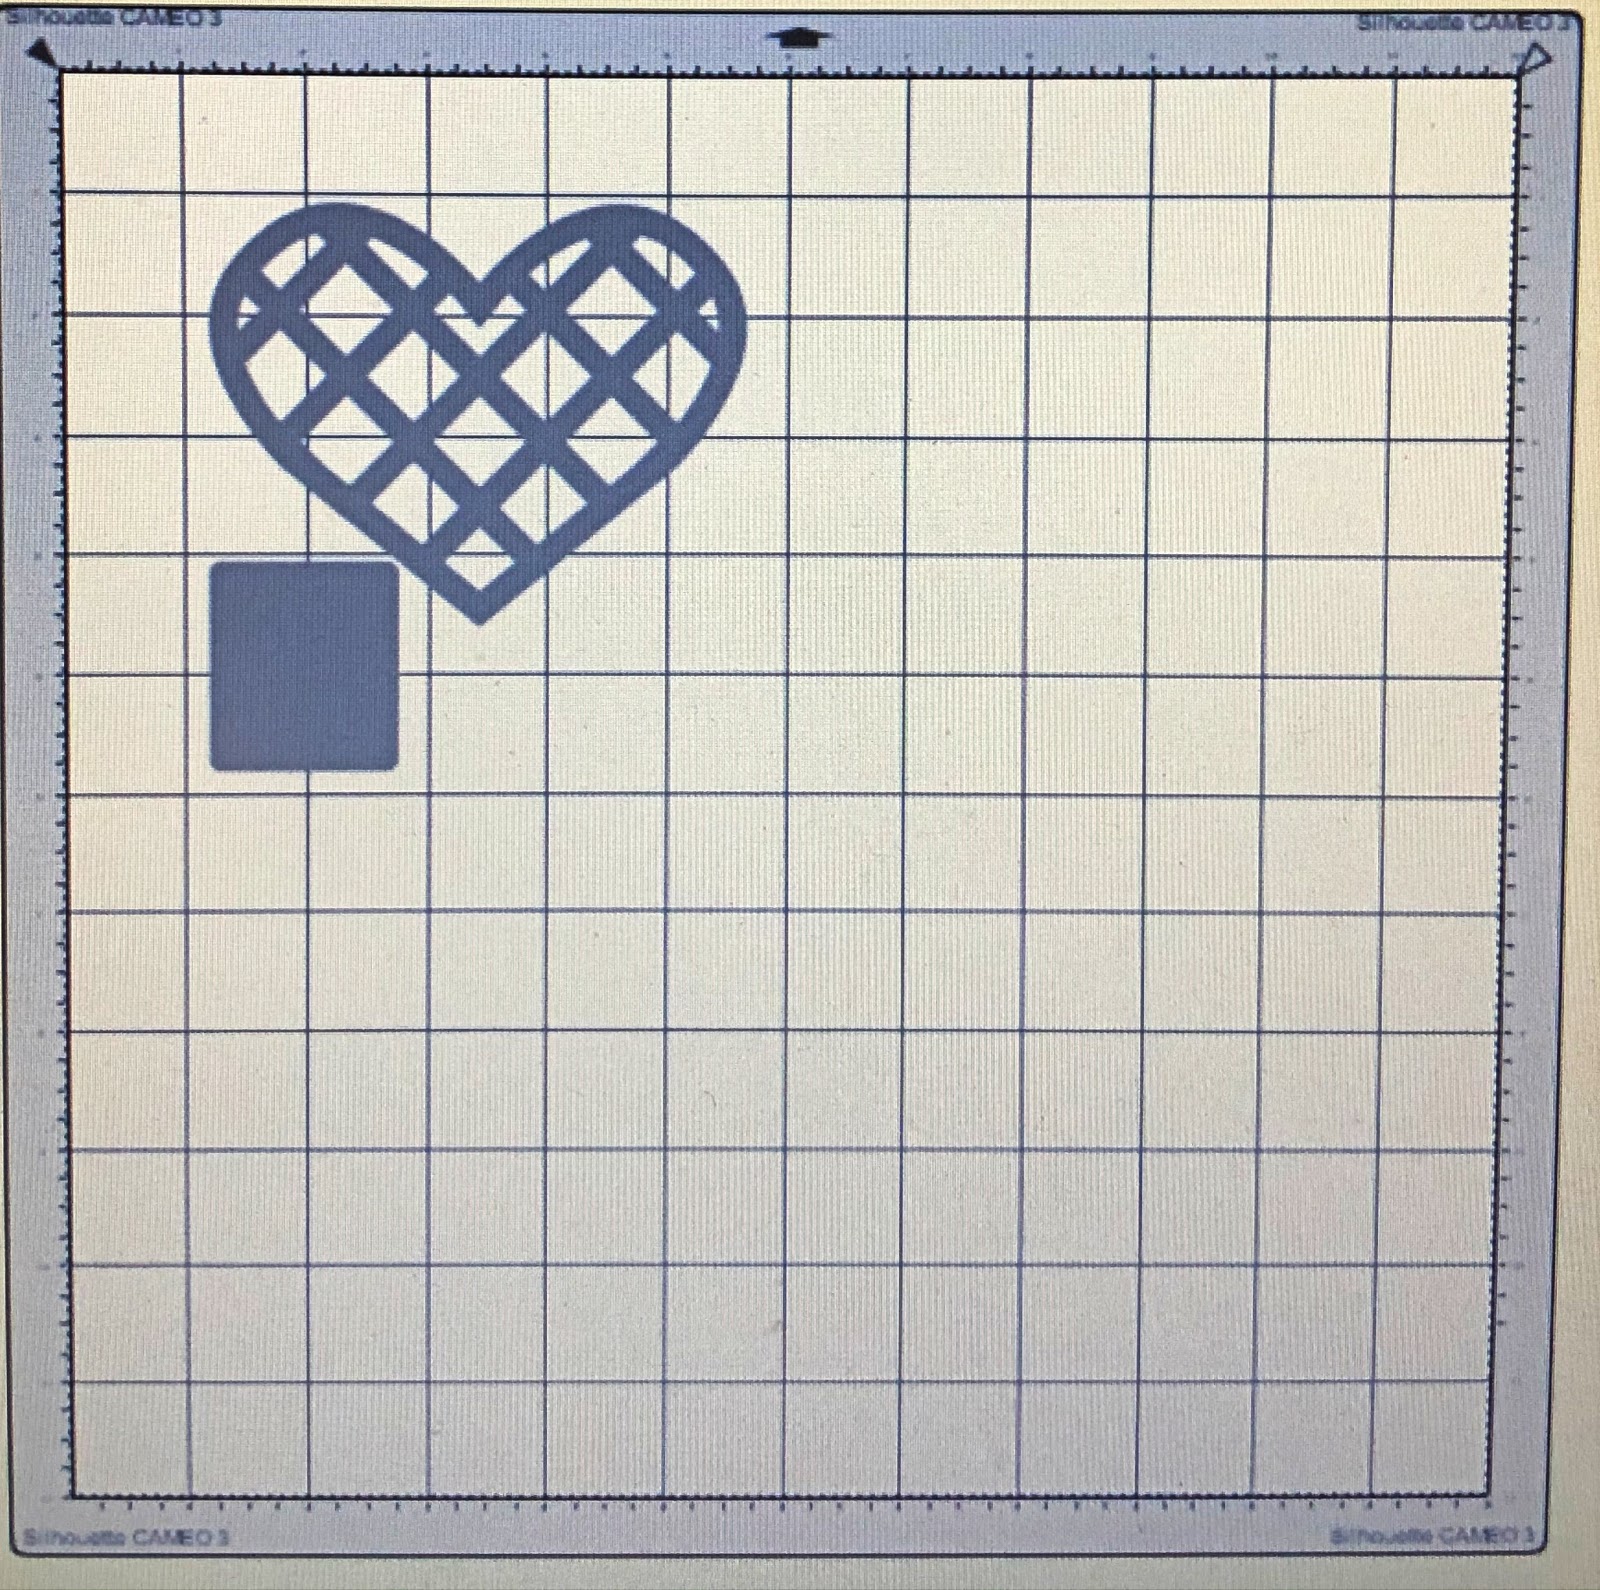
I am using the SVG in this tutorial. Place the pattern onto your virtual cutting mat to cut.
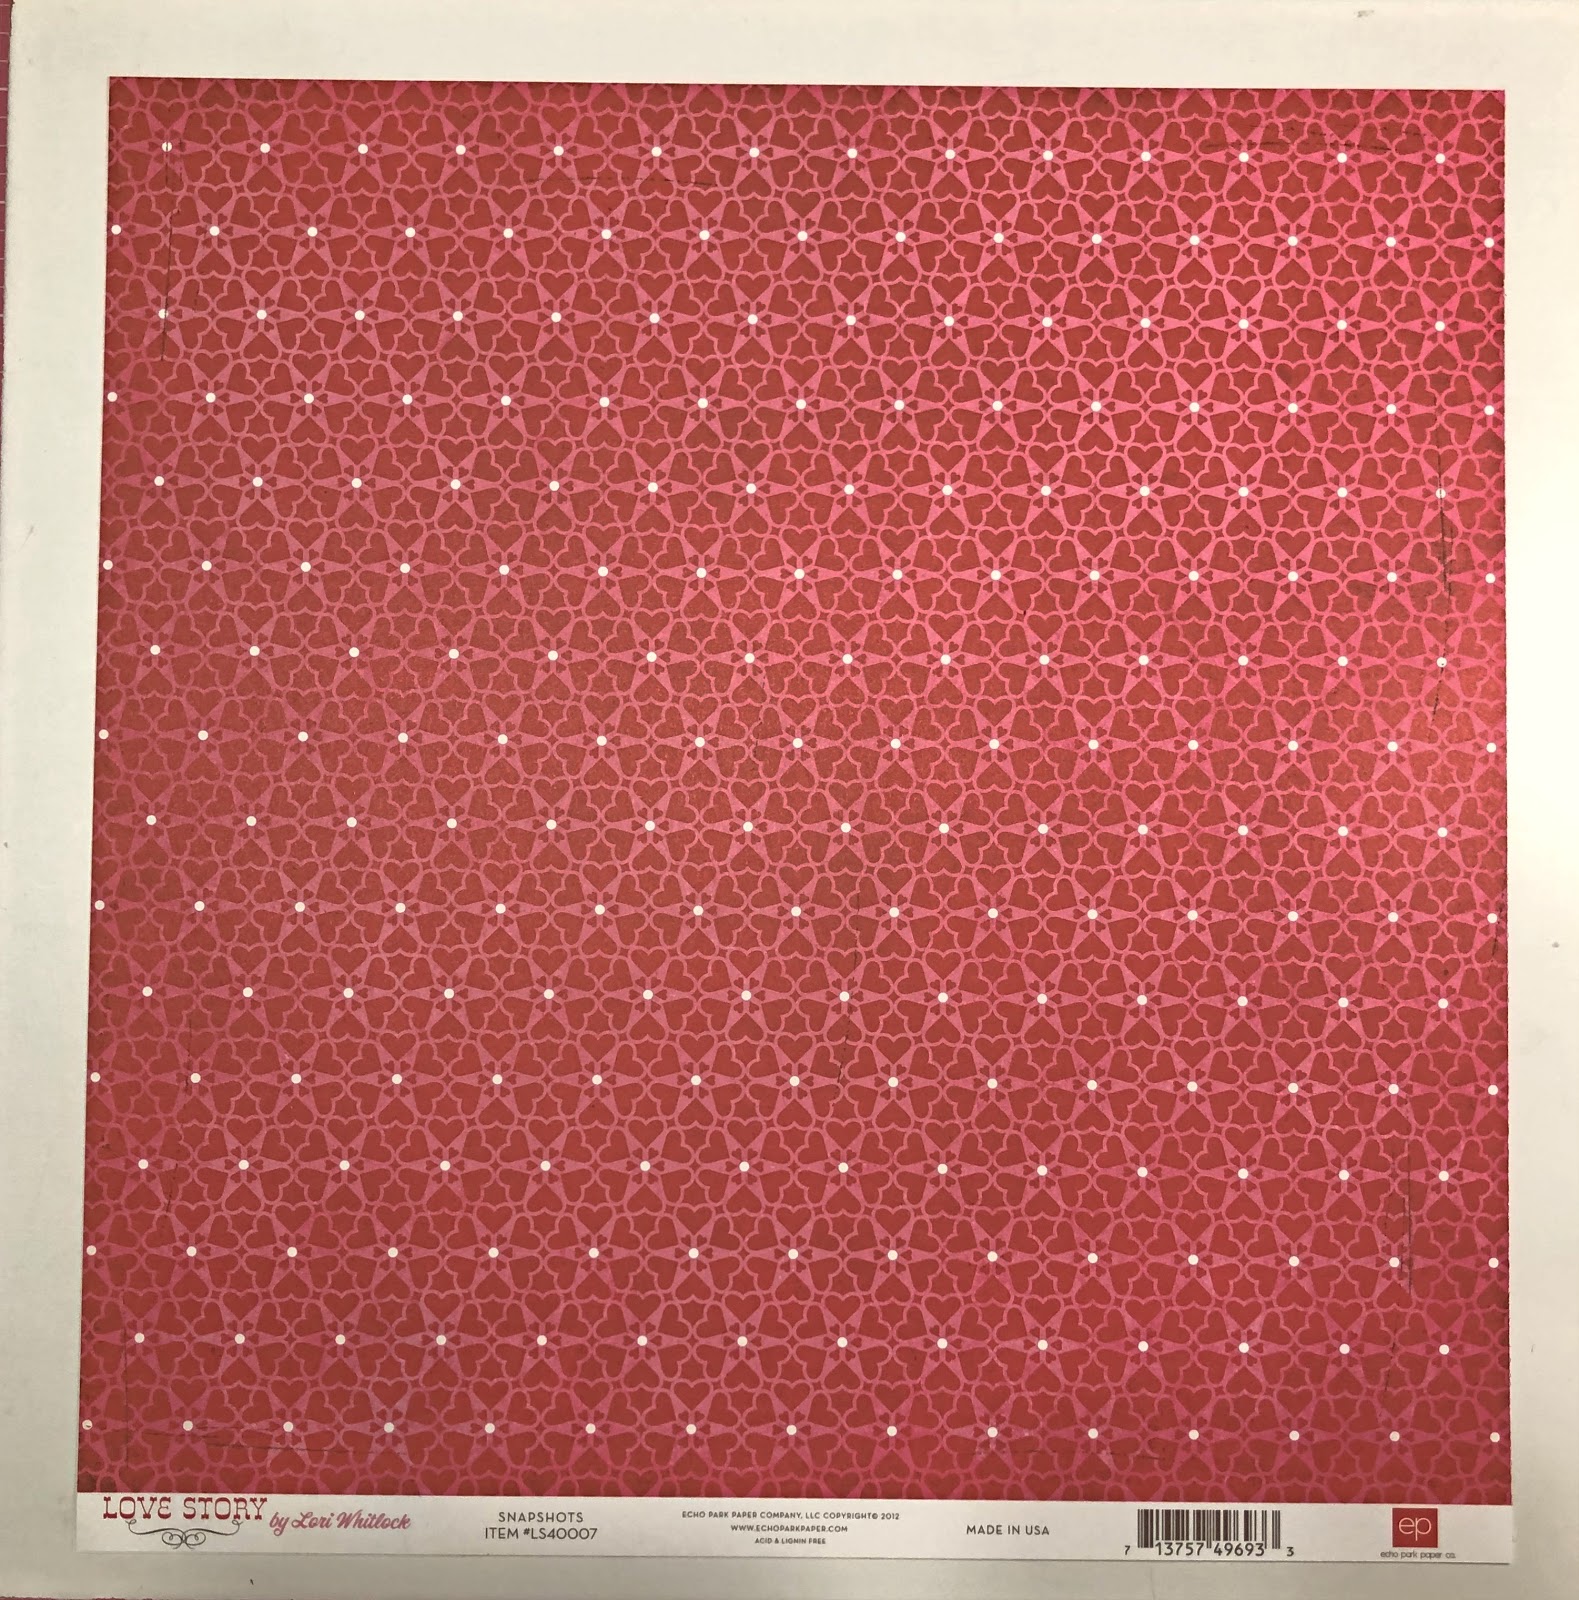
I chose Echo Park's Love Story Collection for my Valentine's Candy Box. The Cardstock I chose from the collection was 1 sheet of Snapshot #LS40007.
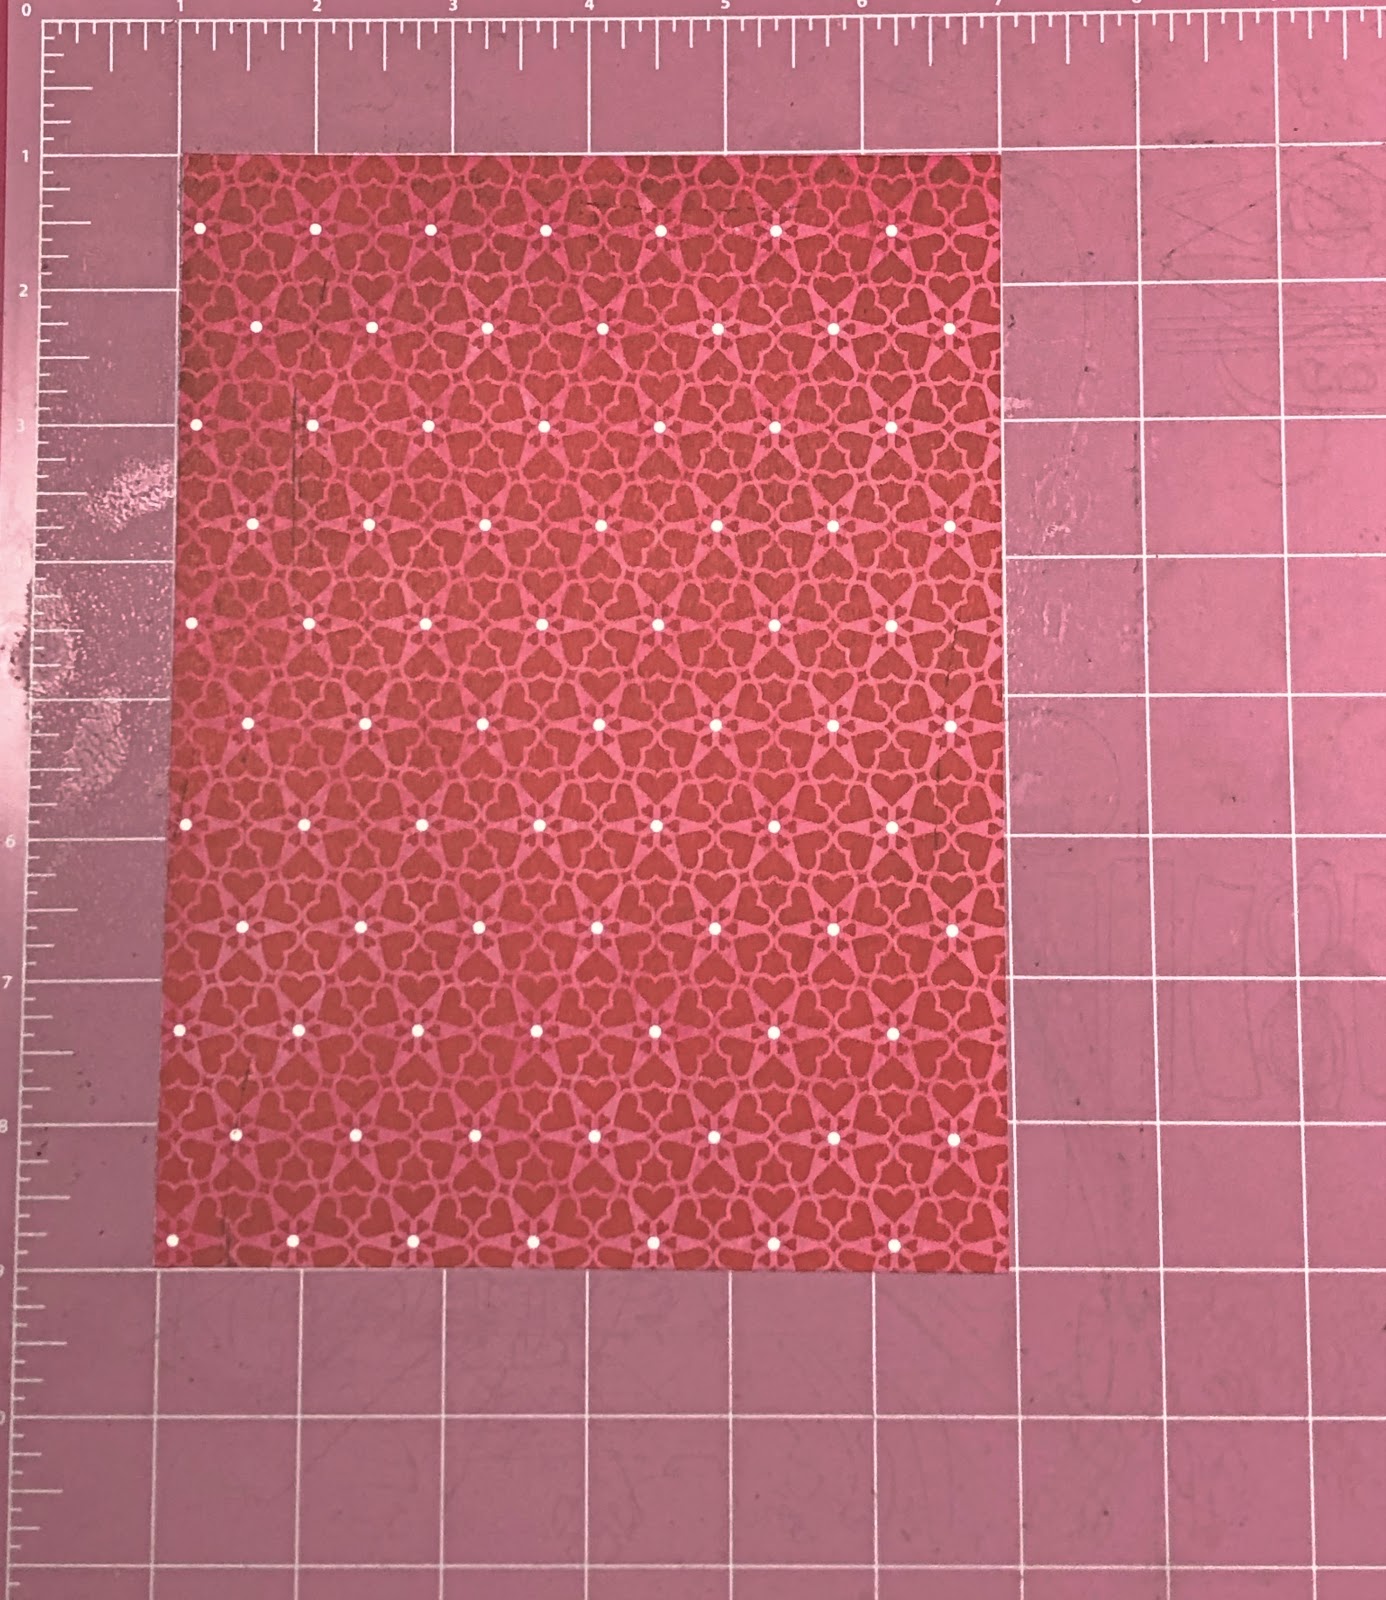
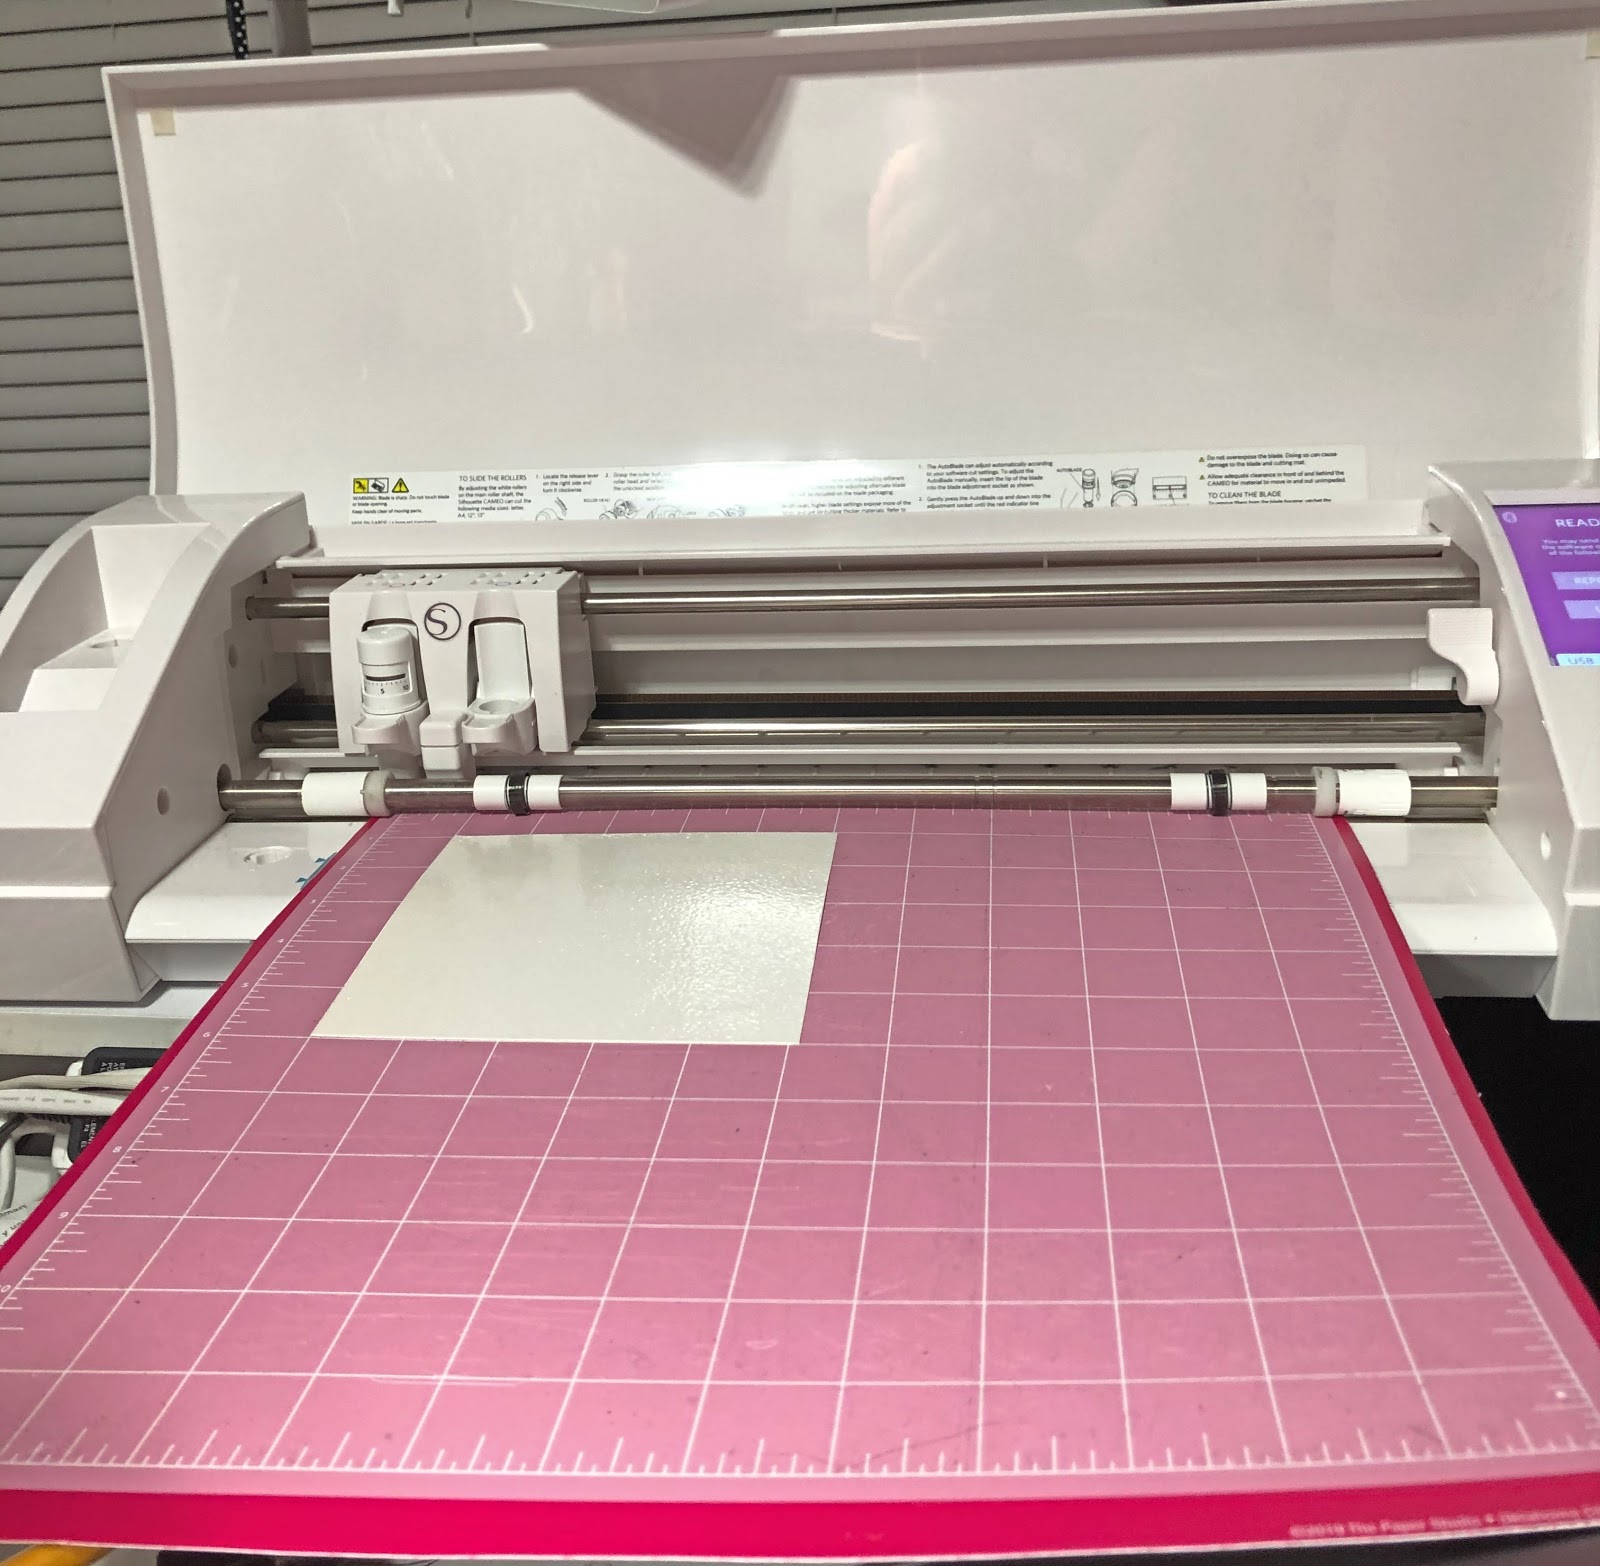
Cut, with your paper trimmer, a 6X8 inch piece of Snapshot cardstock and place it on your mat.
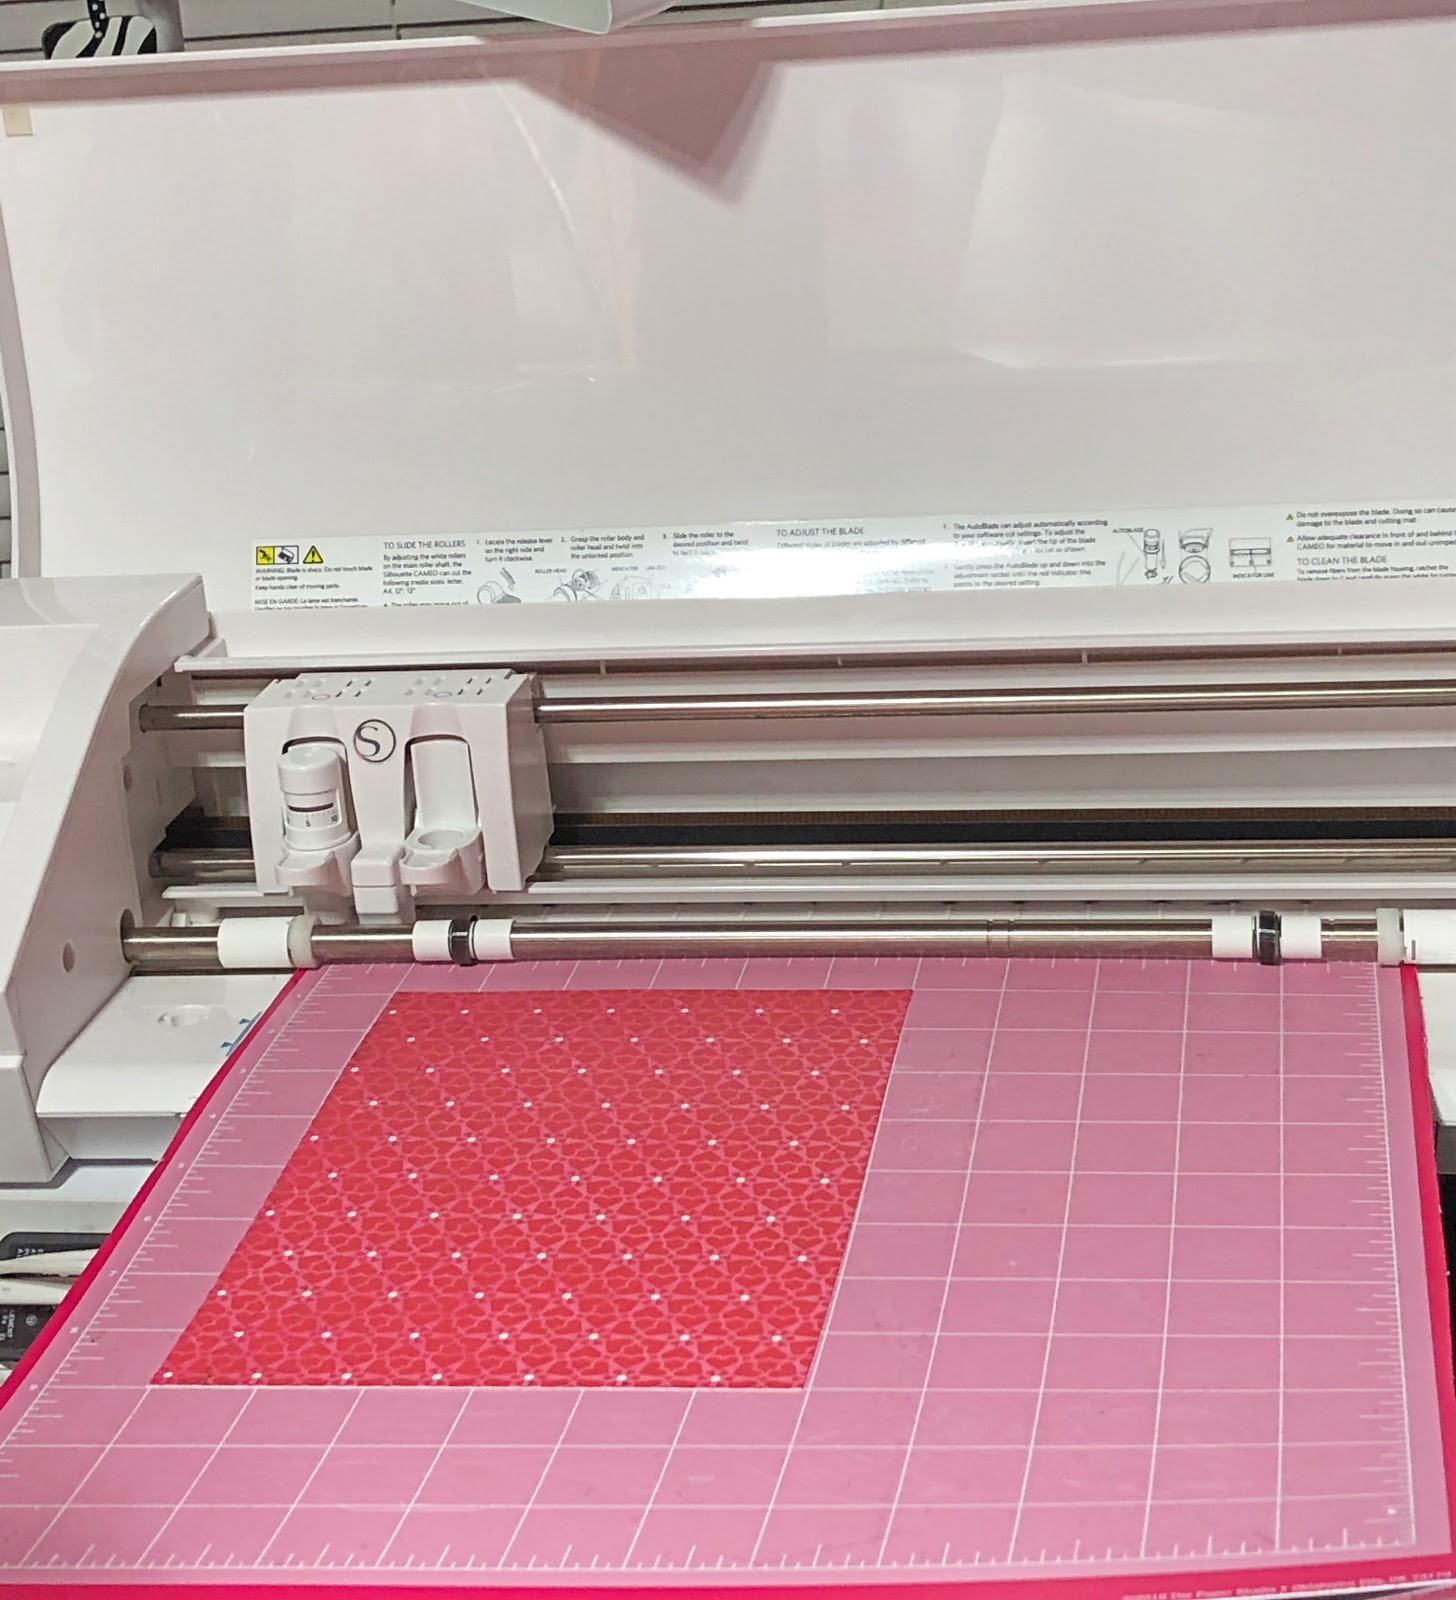
Place it in your cutting machine to cut out the base of the Candy Box.
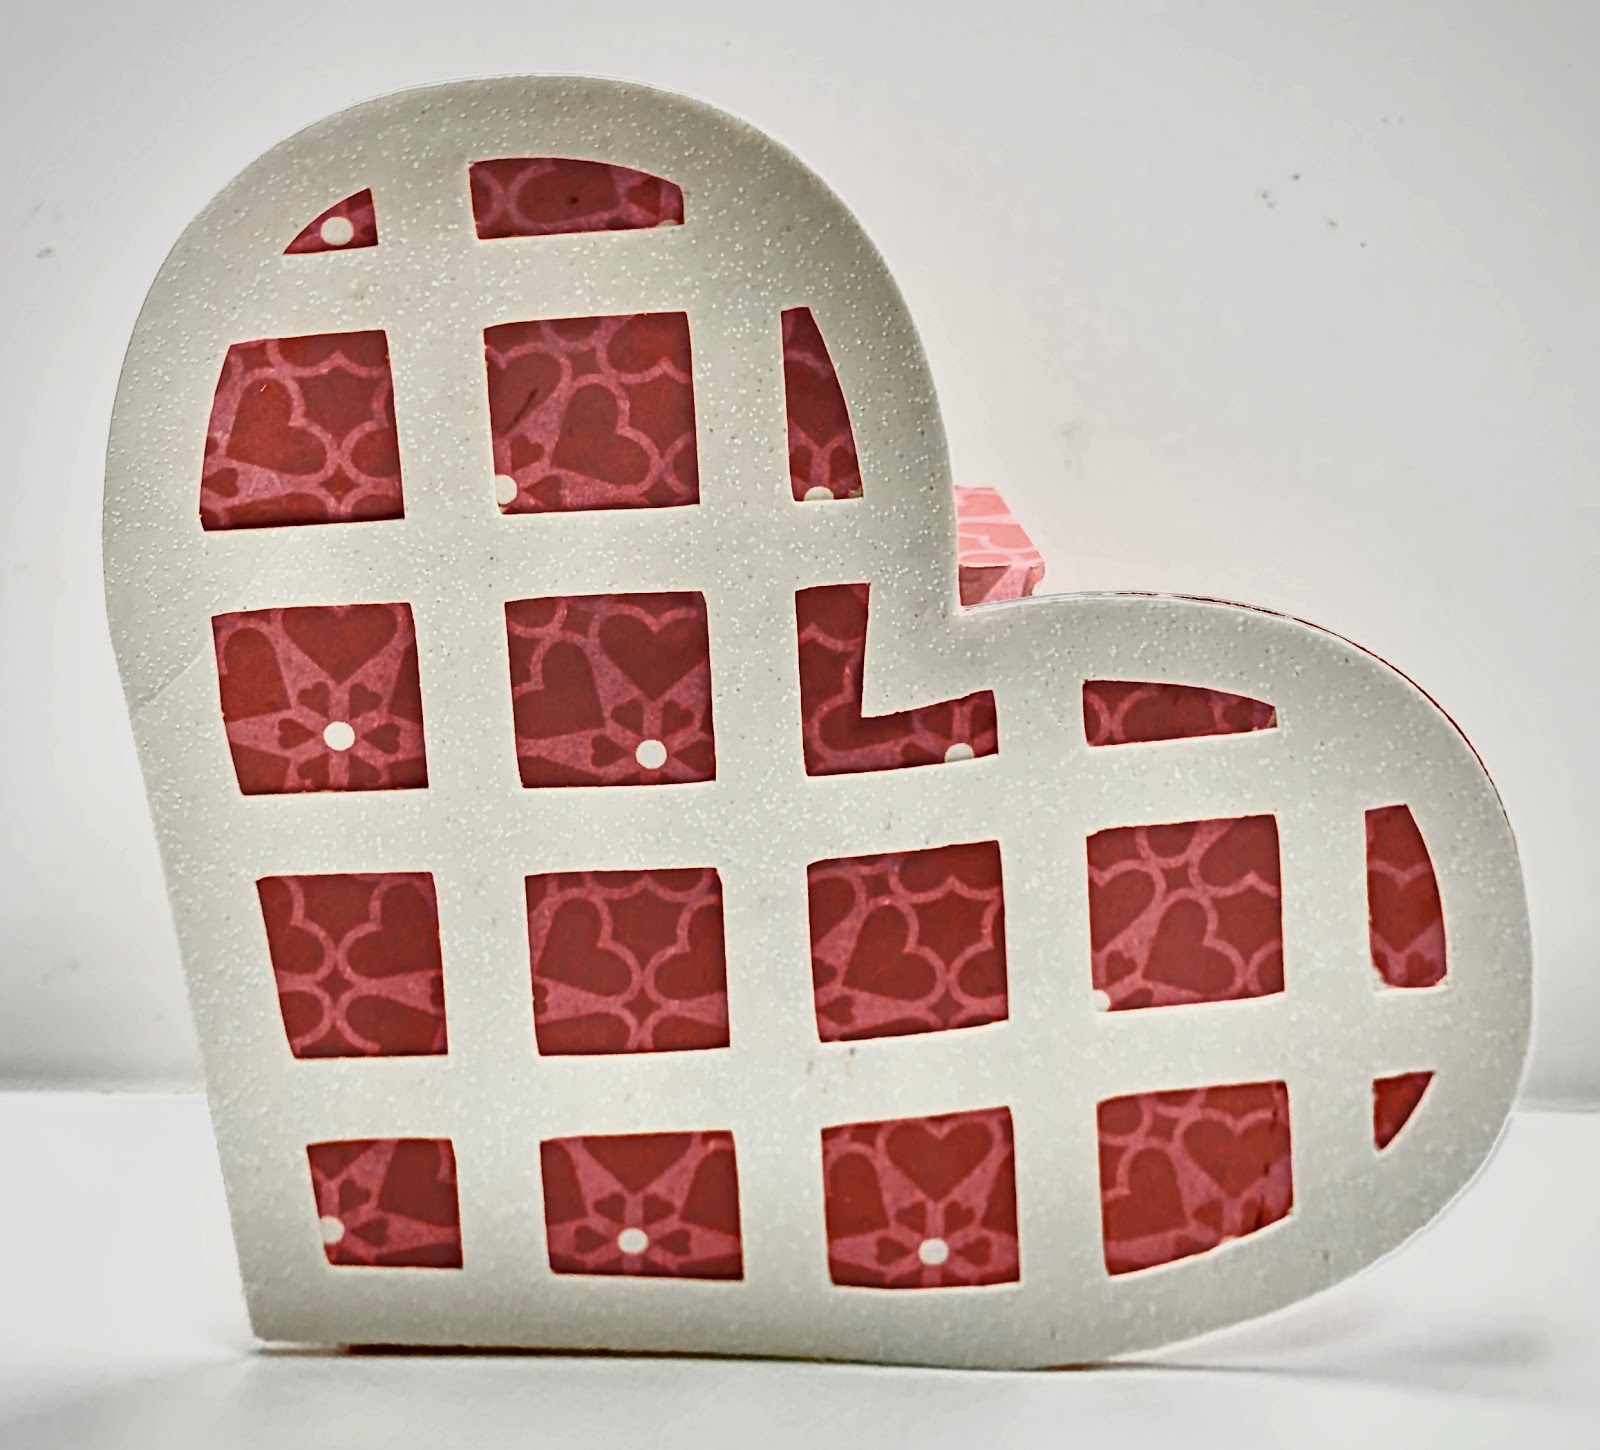
Using White Glitter Cardstock, trim with your trimmer, a 5x5 inch piece of the glitter cardstock. Placing the top and bottom portion of the pattern onto your virtual cutting mat you are ready for the next step.
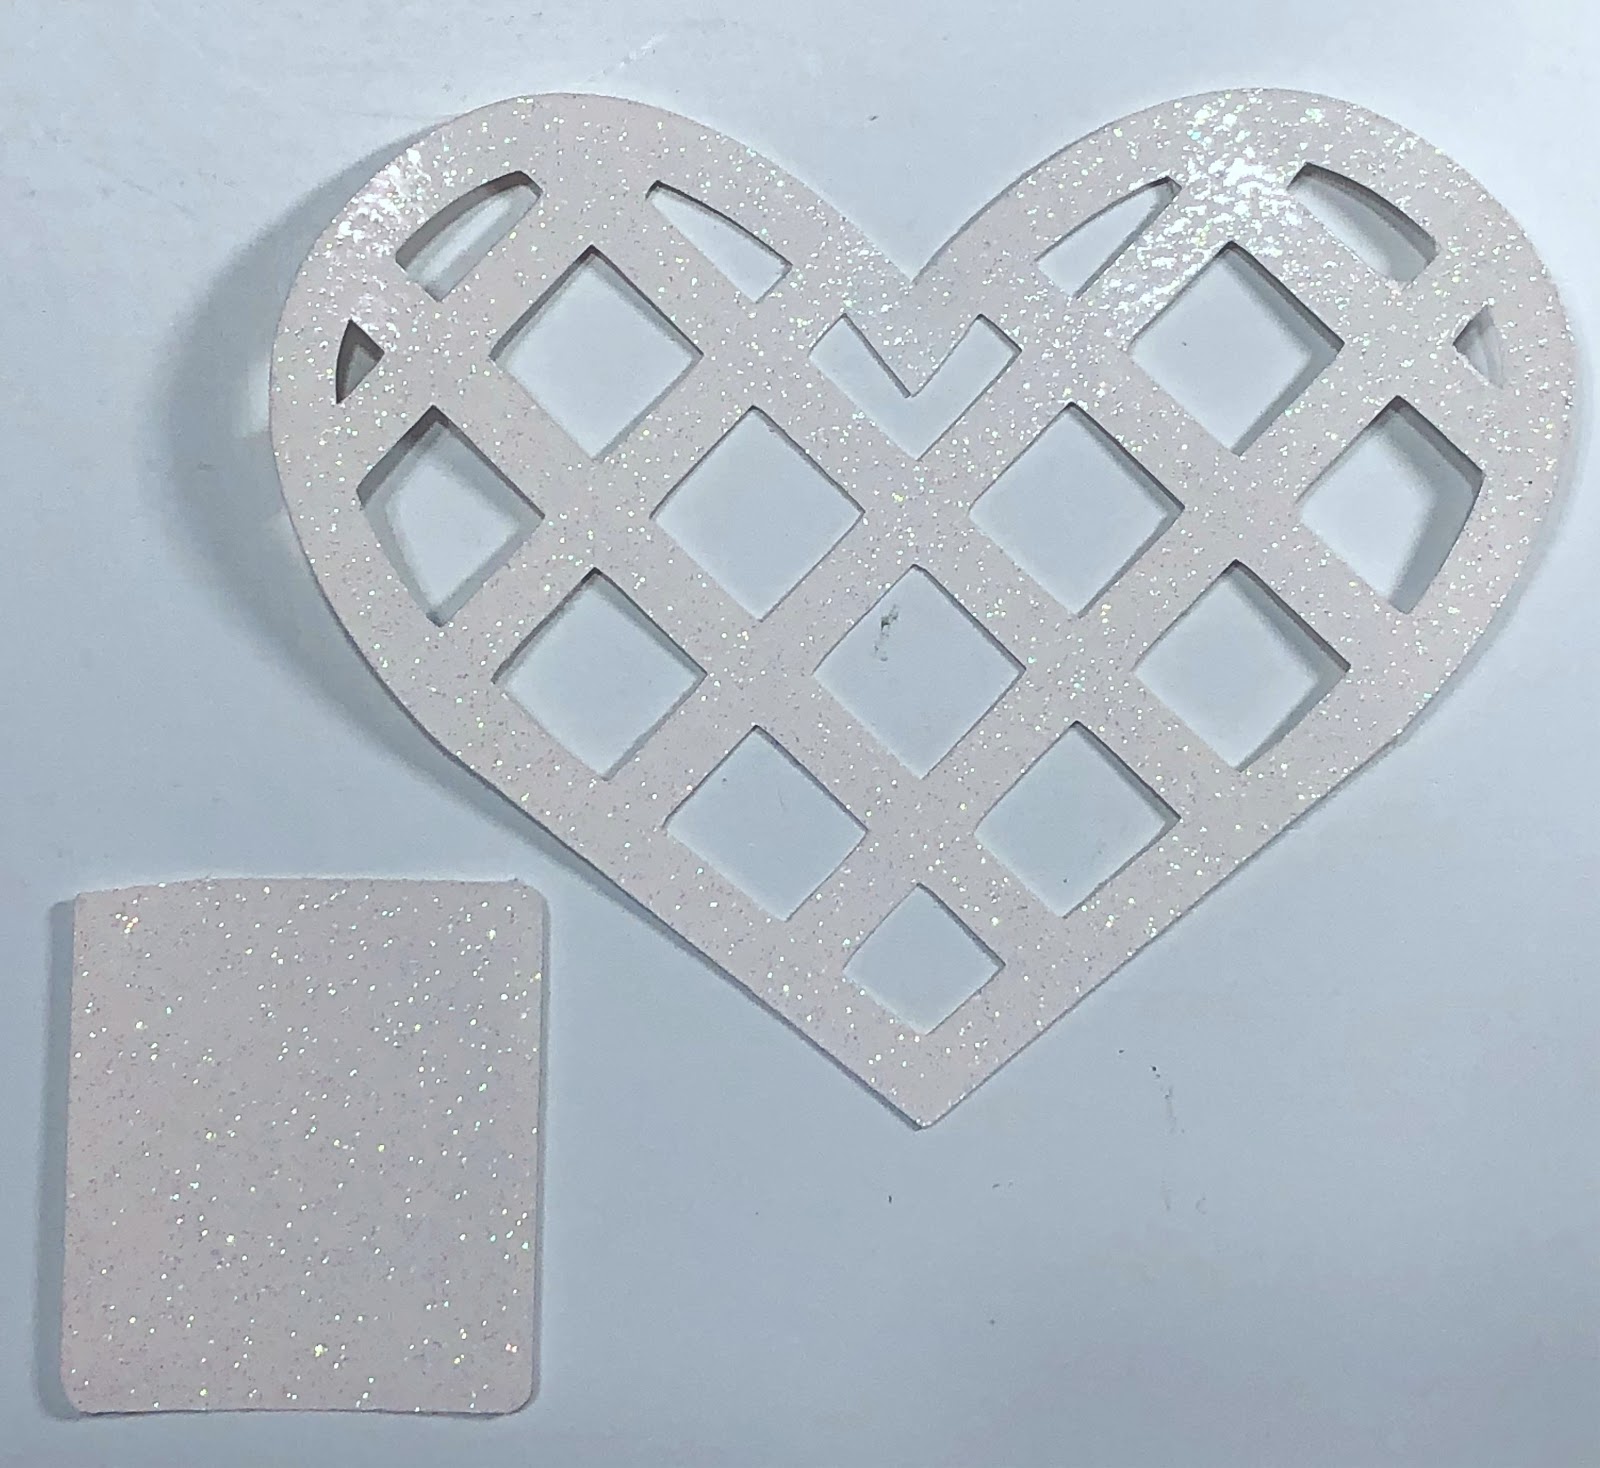
After placing the glitter cardstock onto the mat, cut the pieces in your electric cutting machine.
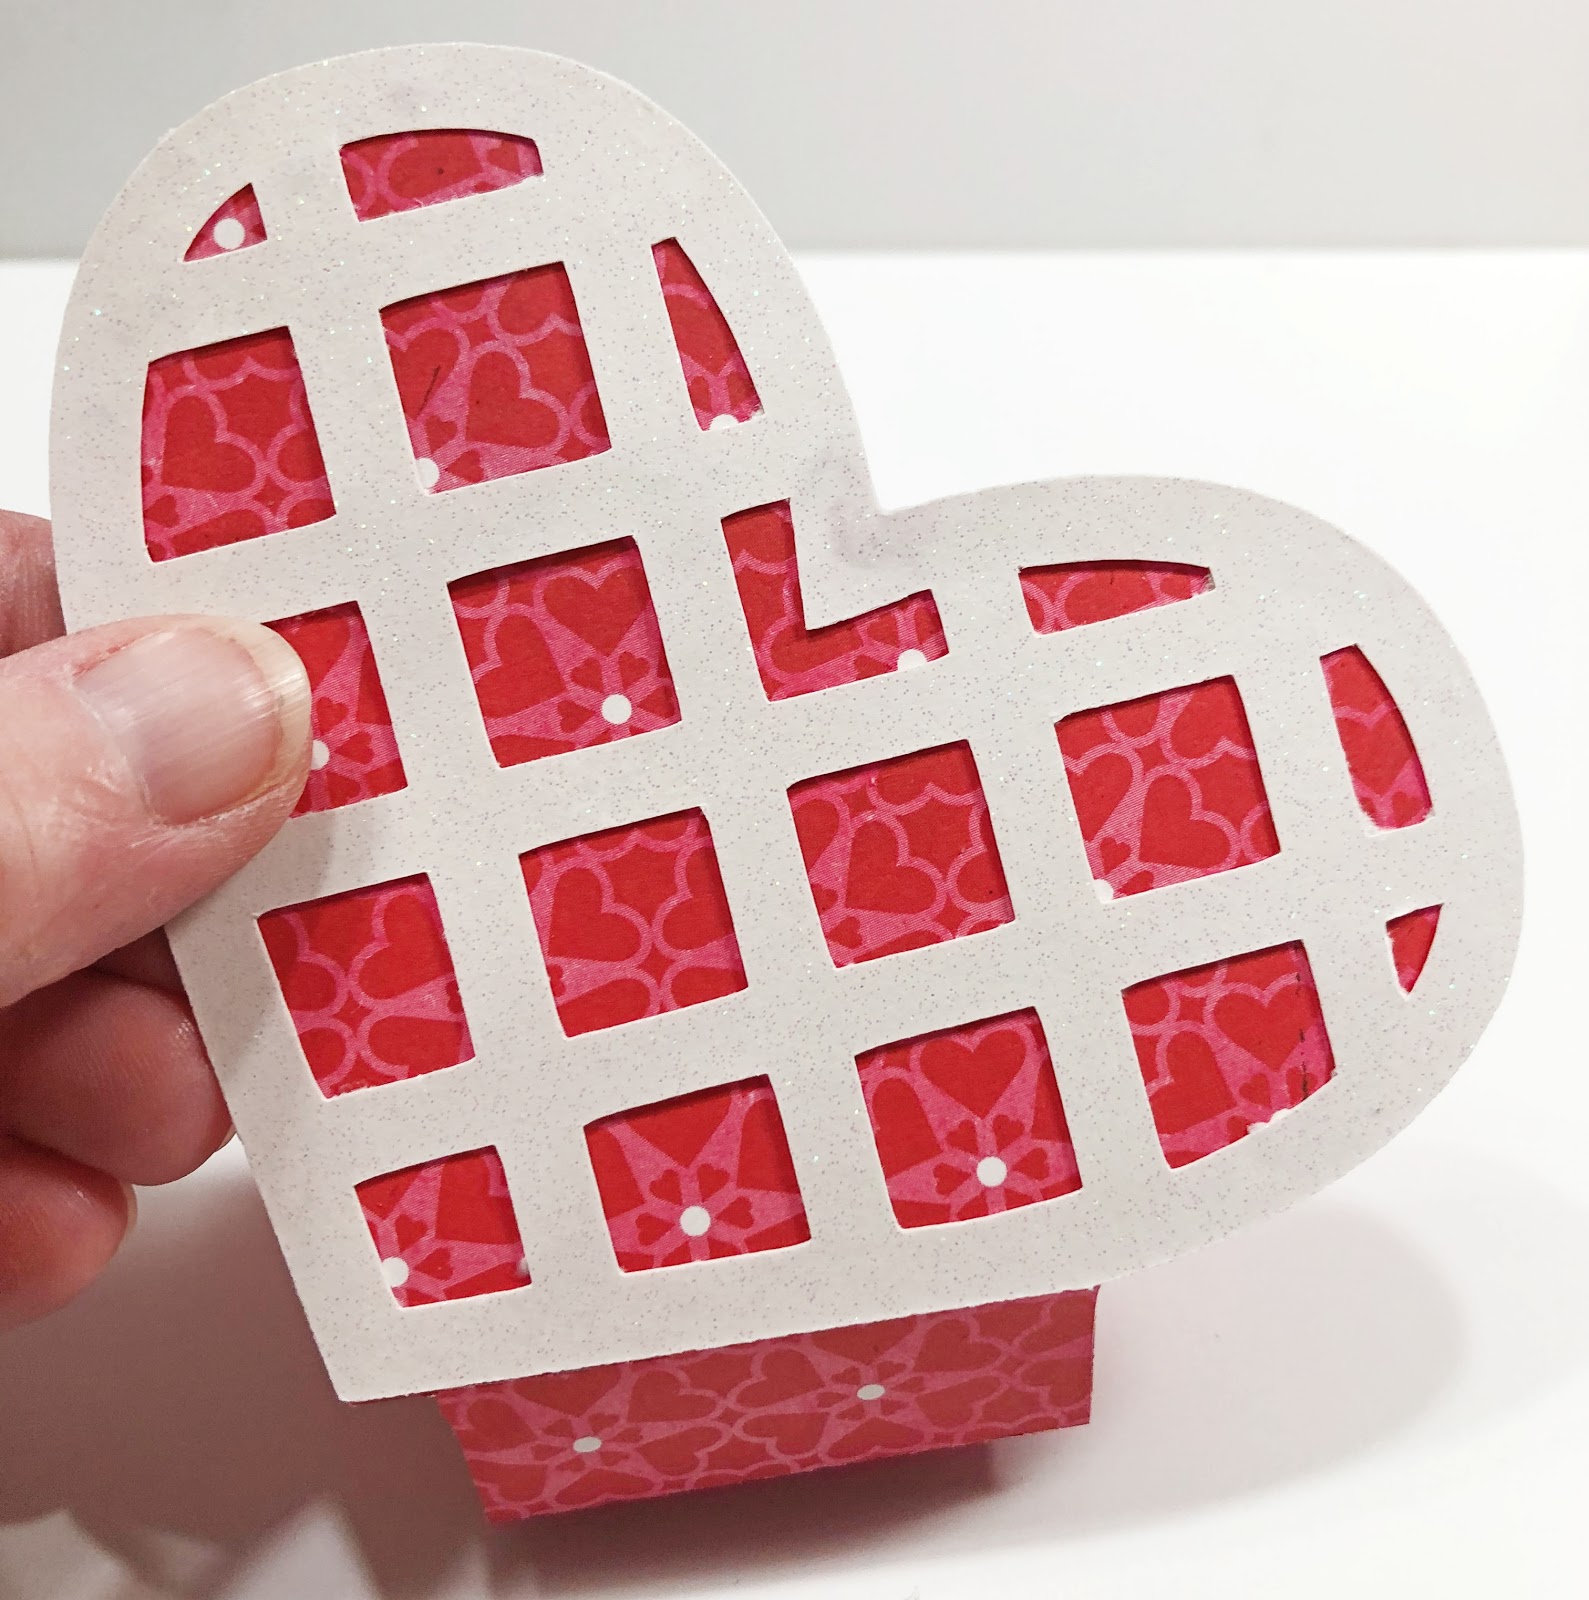
Make sure to gently push back the diamonds out of the heart for this has a tendency to tear if you push forward.
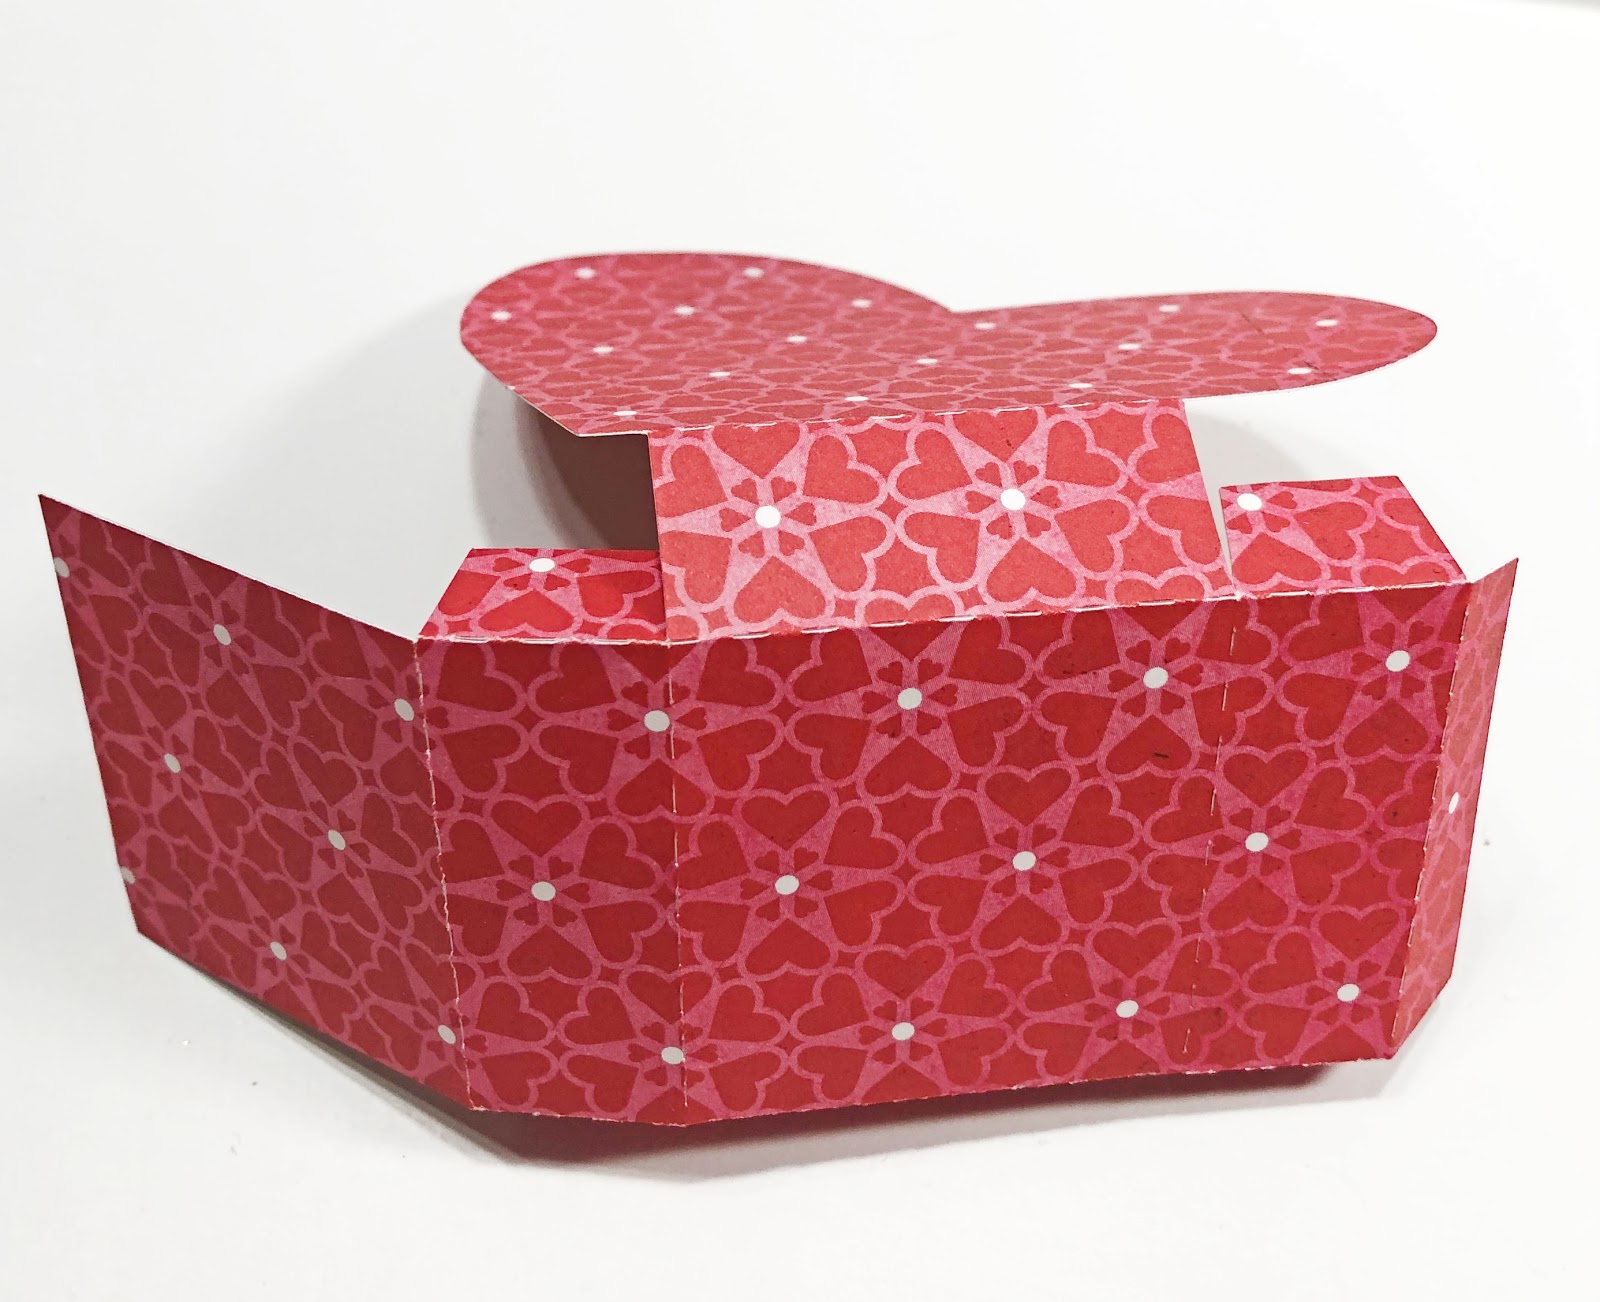
To start assembly, Taking your base, fold inwards or towards the backside of the cardstock at all the score lines.
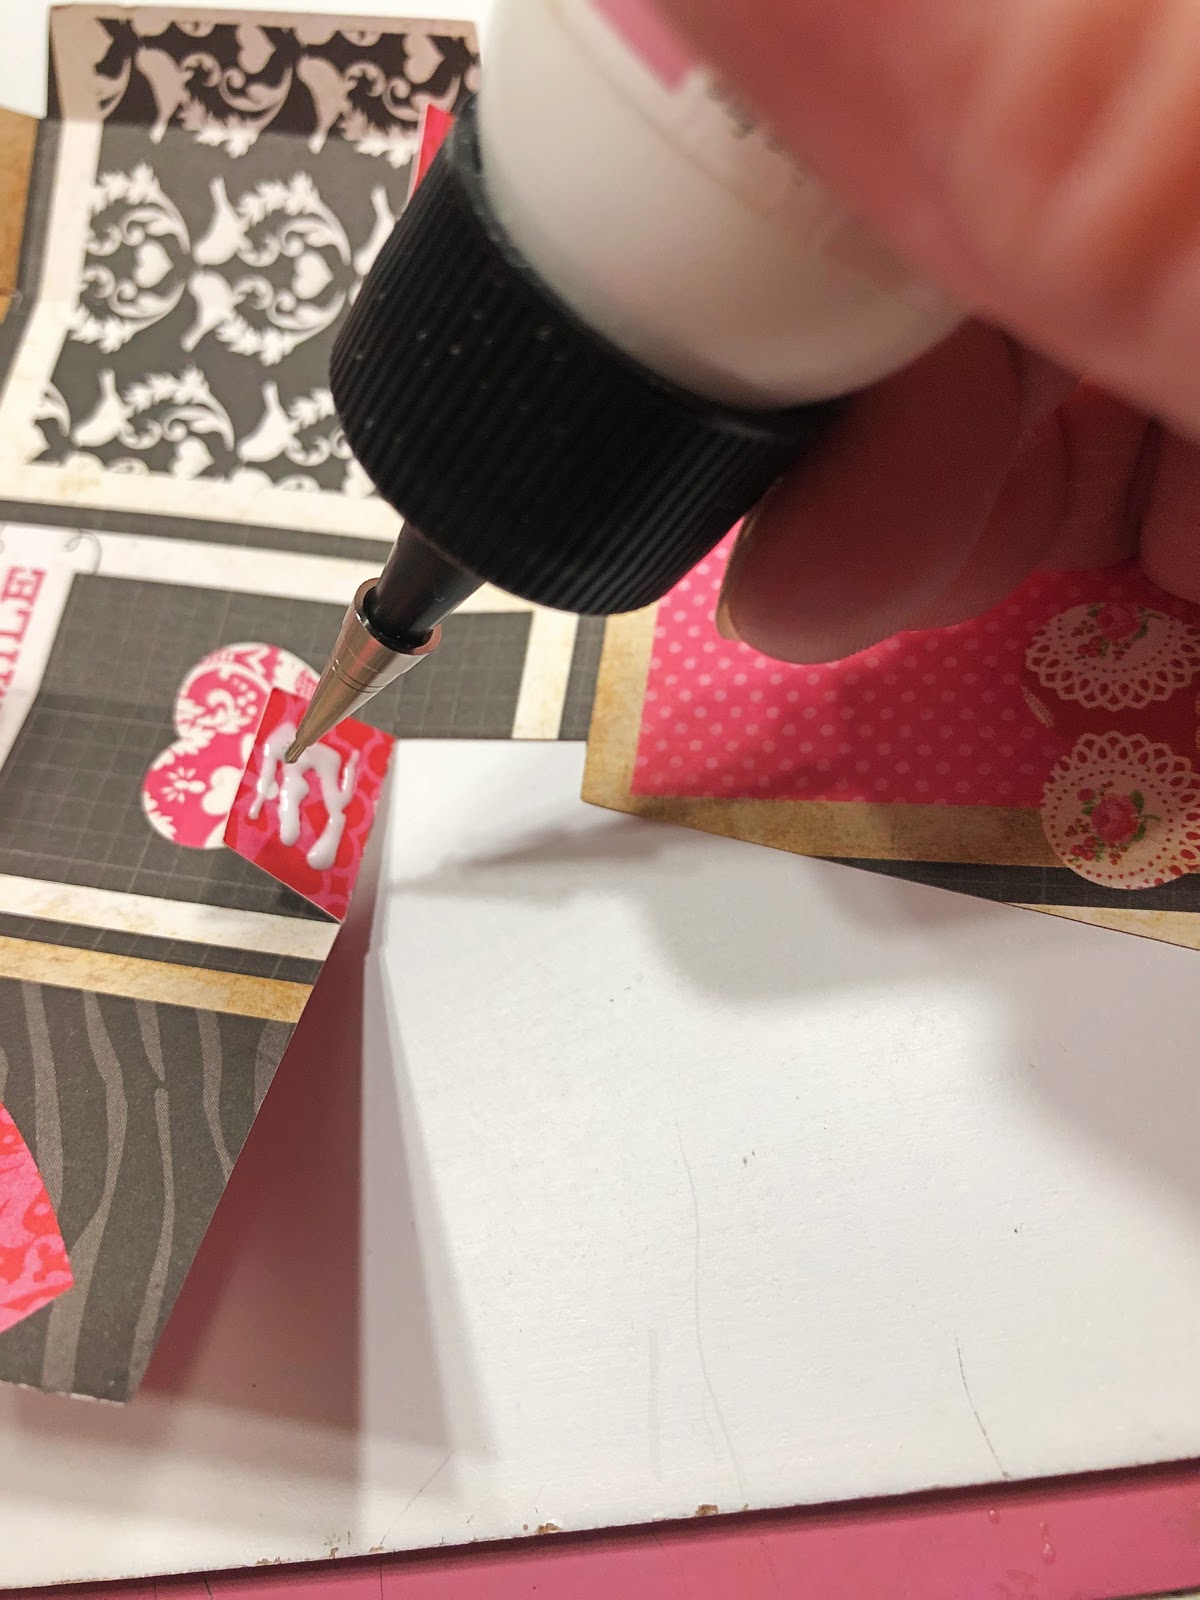
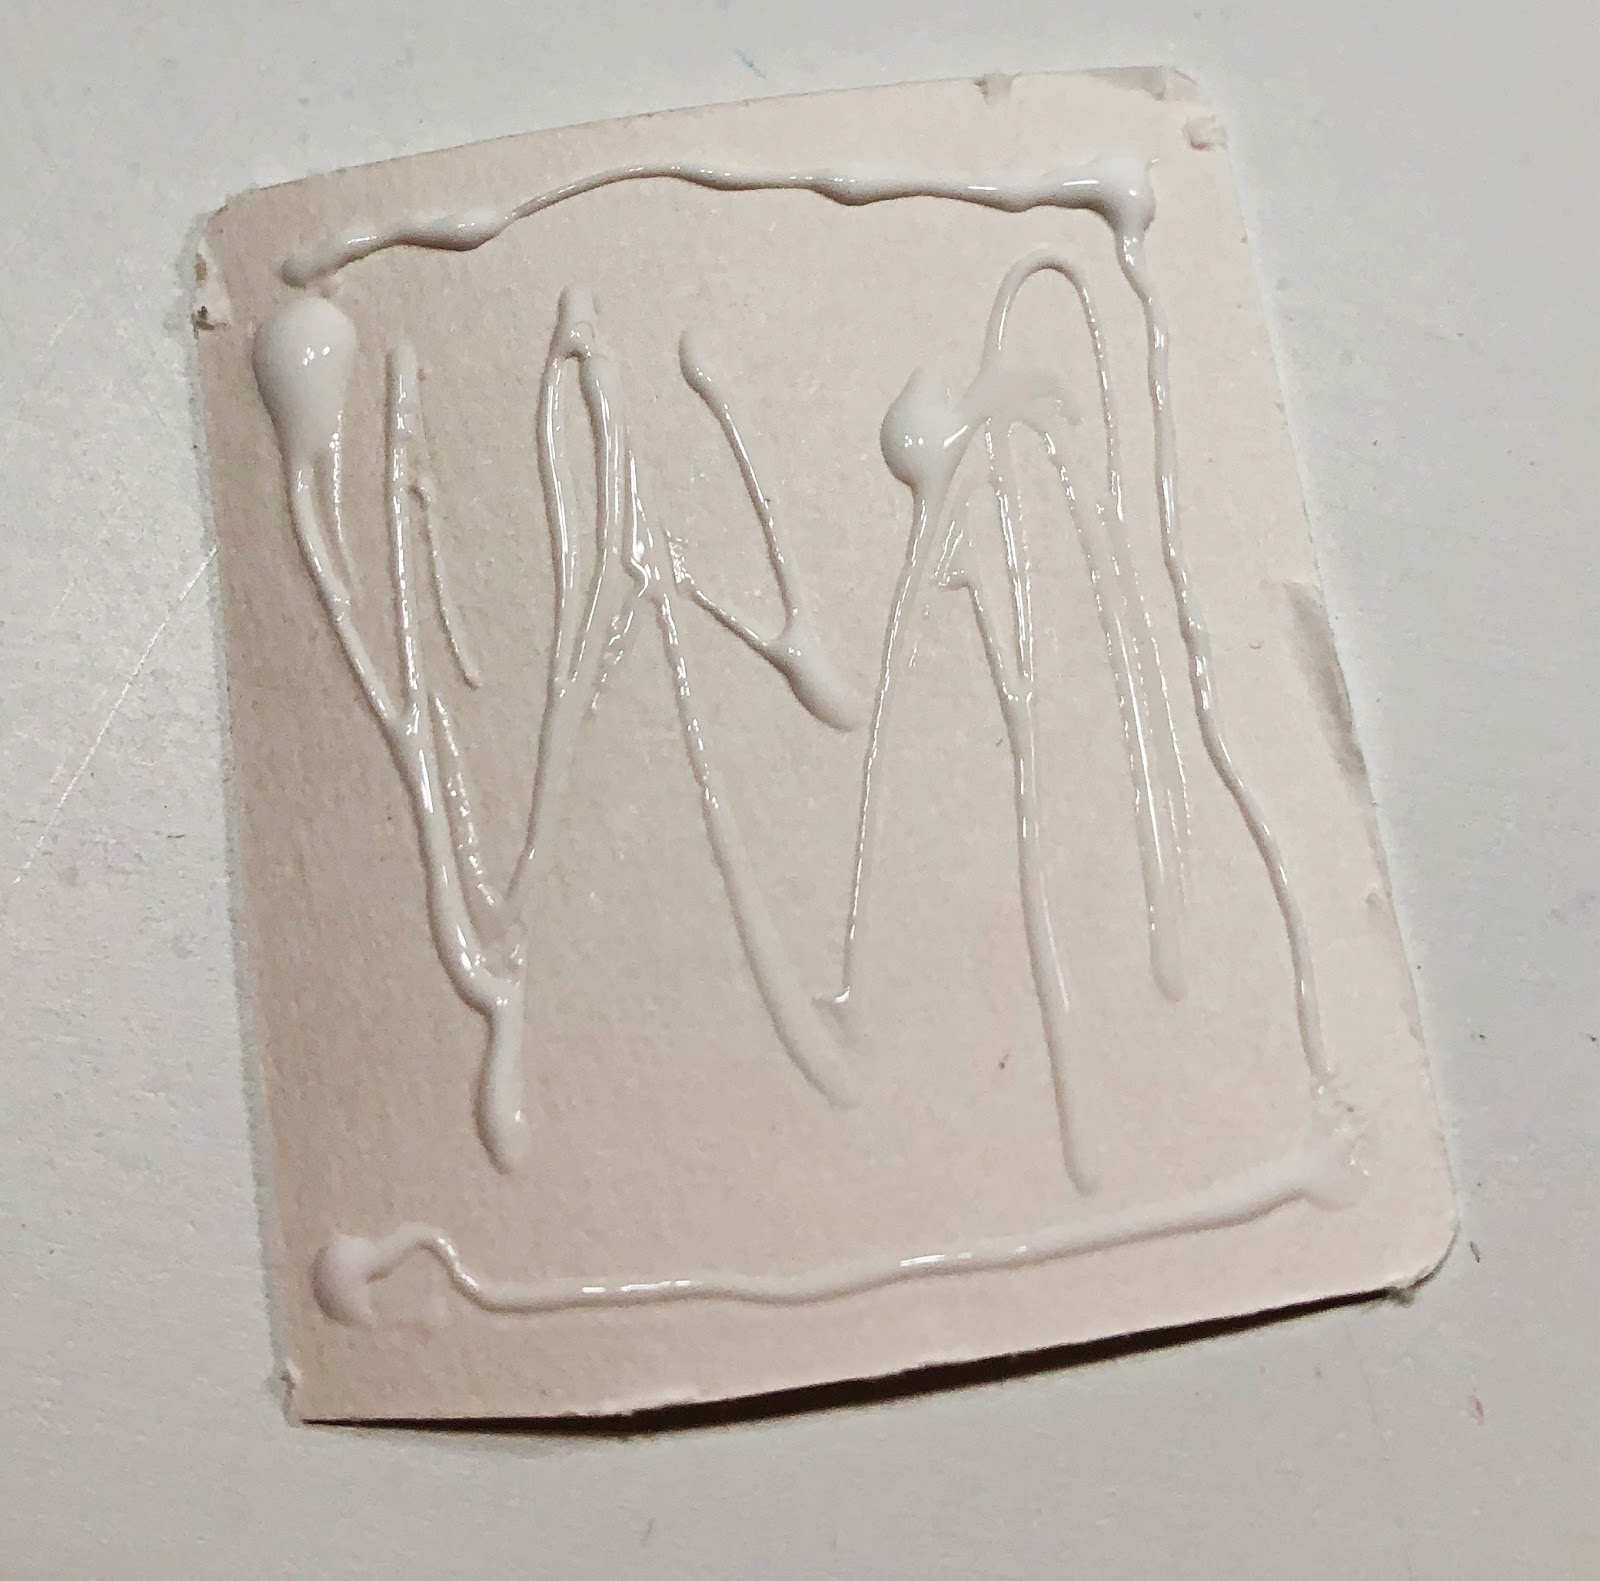
Once all your score lines are folded, put glue on the two small tabs.
Glue on the second one also.
Folding the two squares inward, I found that laying the heart flat on the table and glueing the squares flat onto the heart onto the table was how I got the best hold.
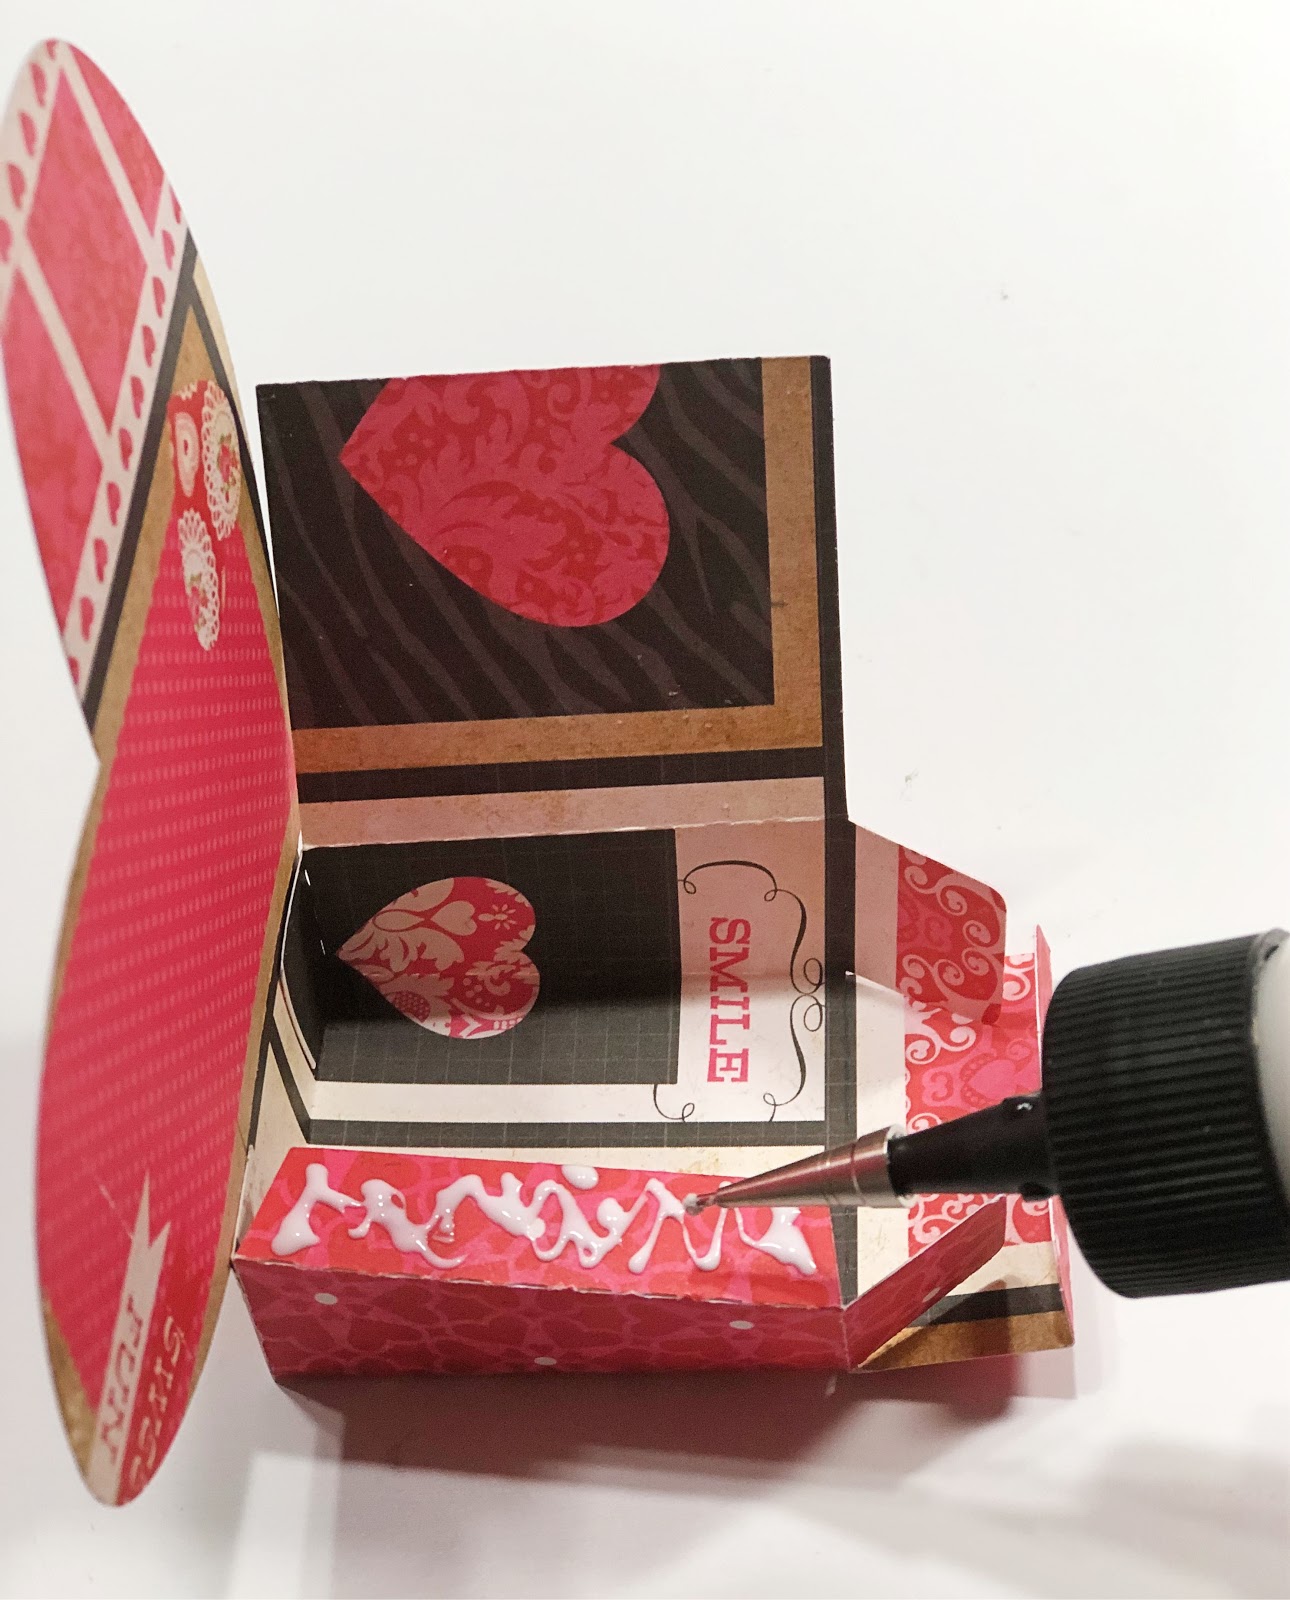
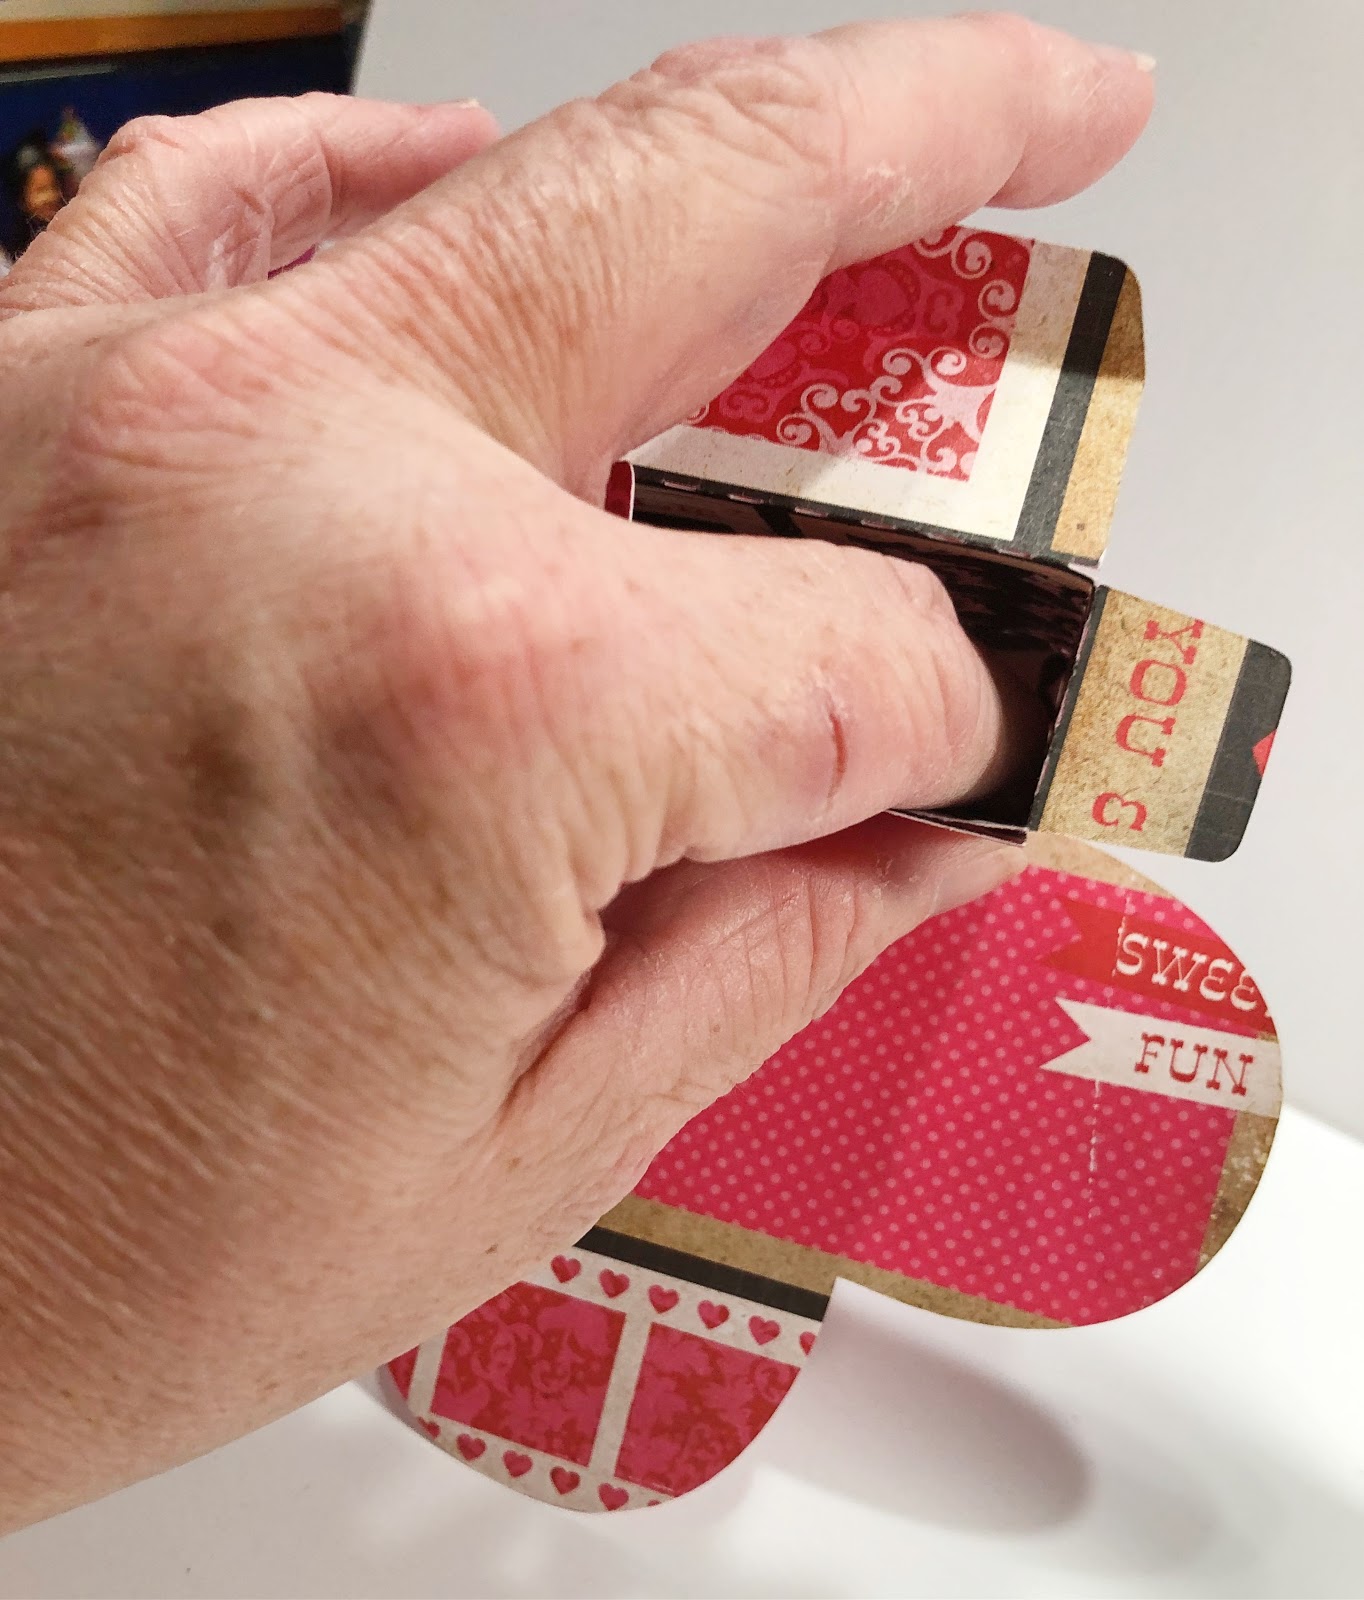
Picking the box back up onto the bottom area, put glue onto the large side tab.
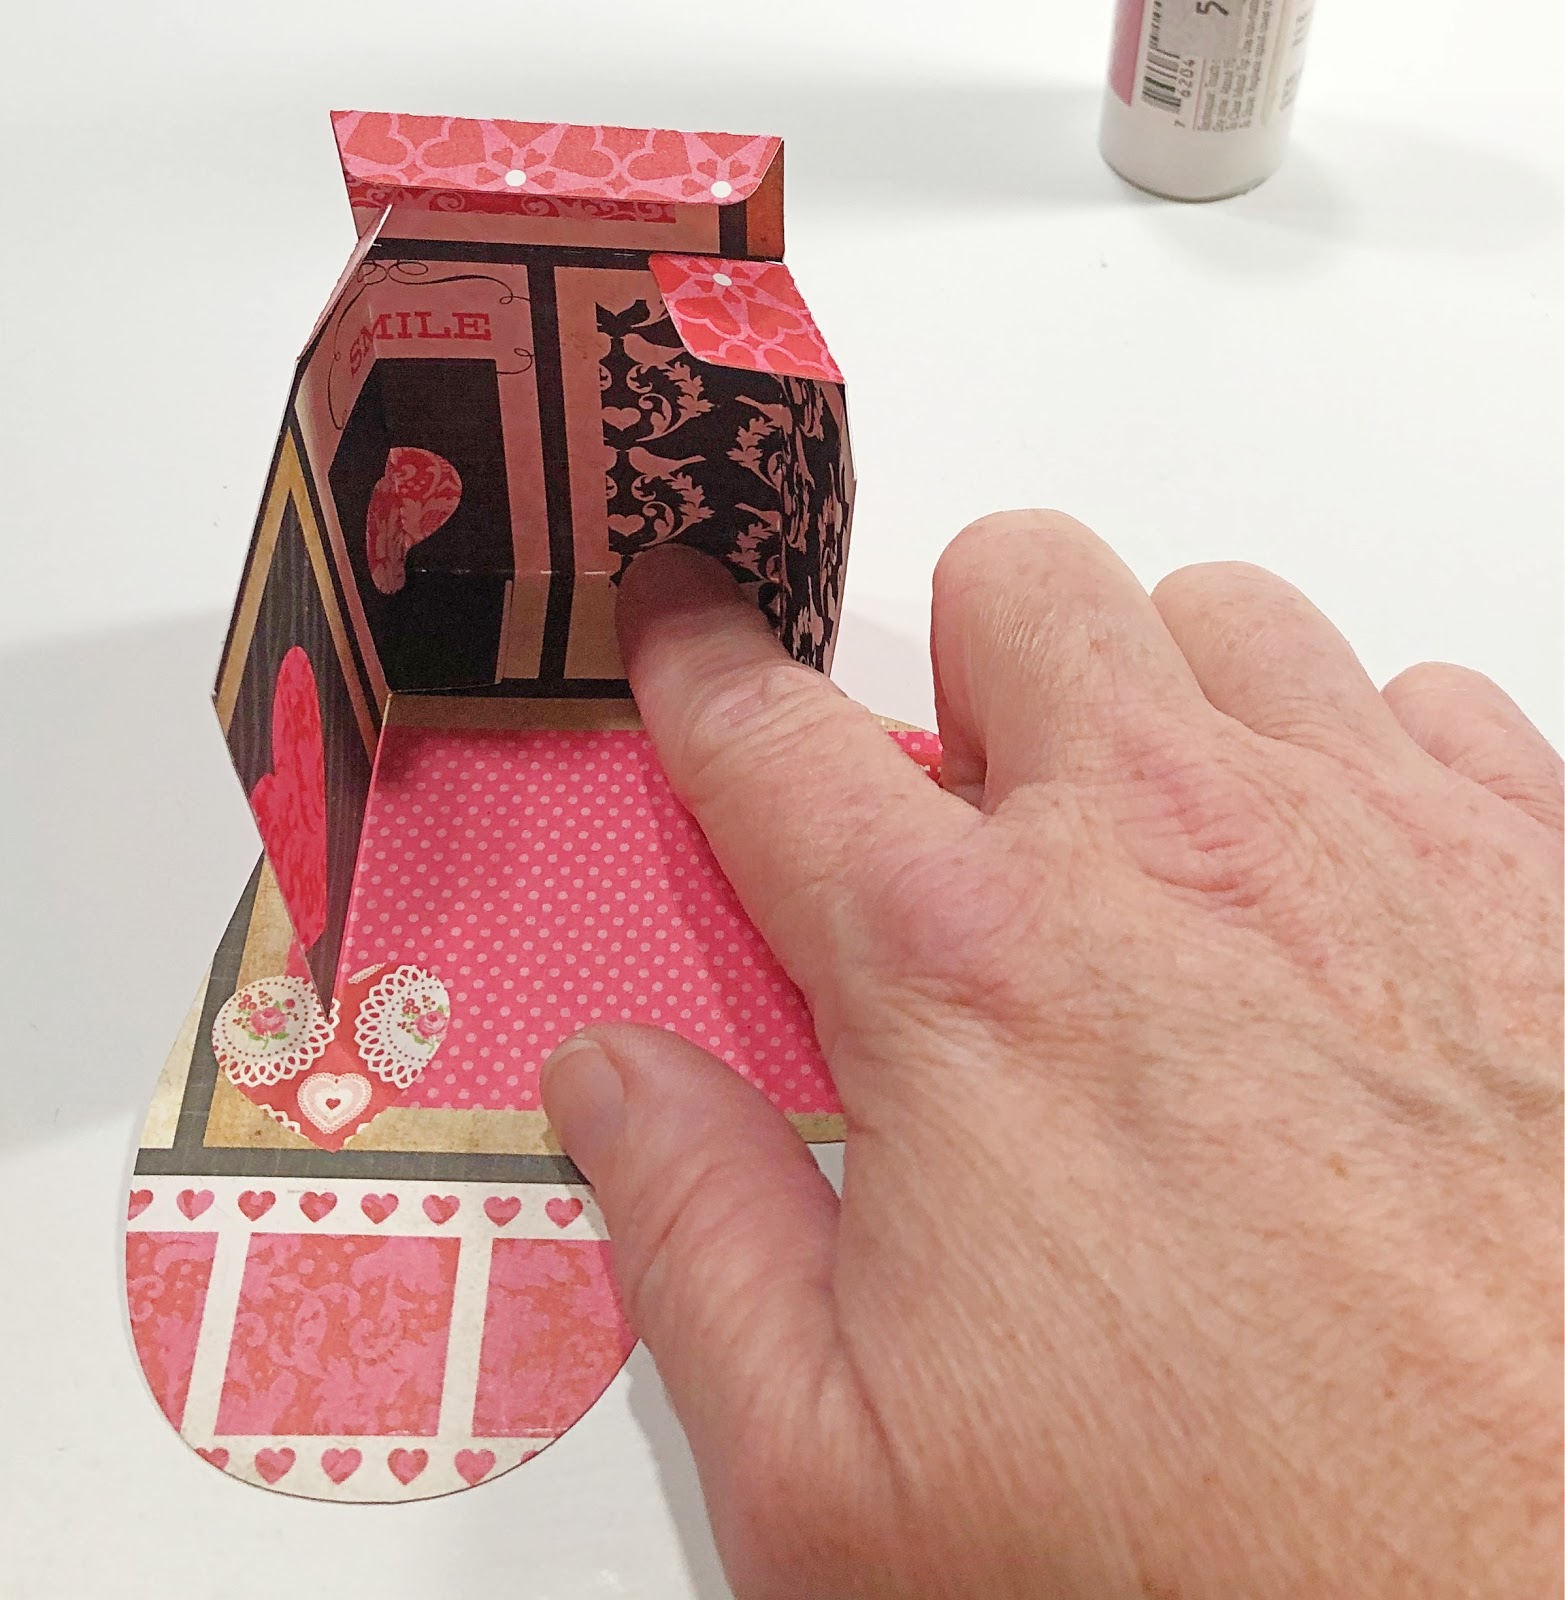
Once you have glue on the large side tab, gently lay over the large square onto the flap you just put glue on. Make sure to line it up perfectly SQUARE. No overlap.
This was the way I found easiest to glue the large square above down. I picked it up and put my finger inside and rubbed the tab smooth until it was dry.
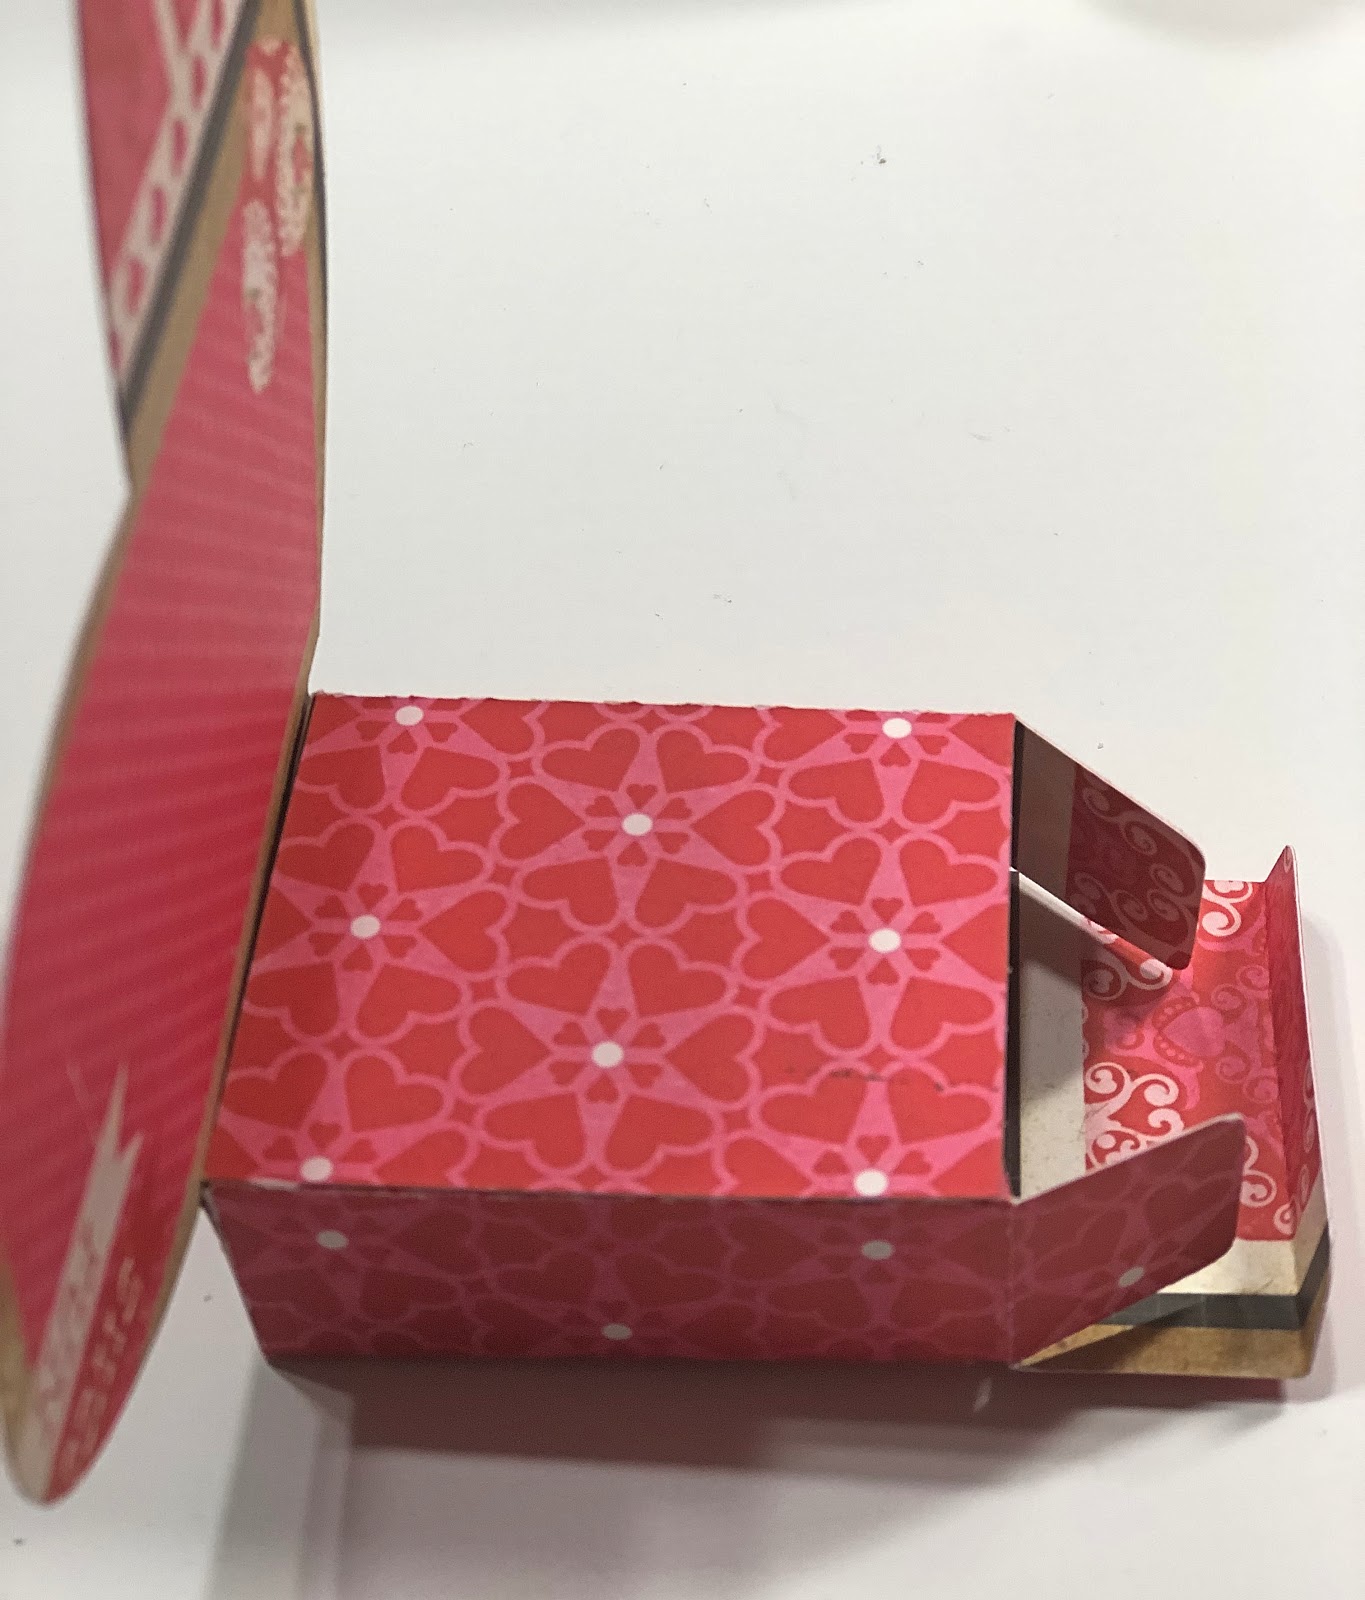
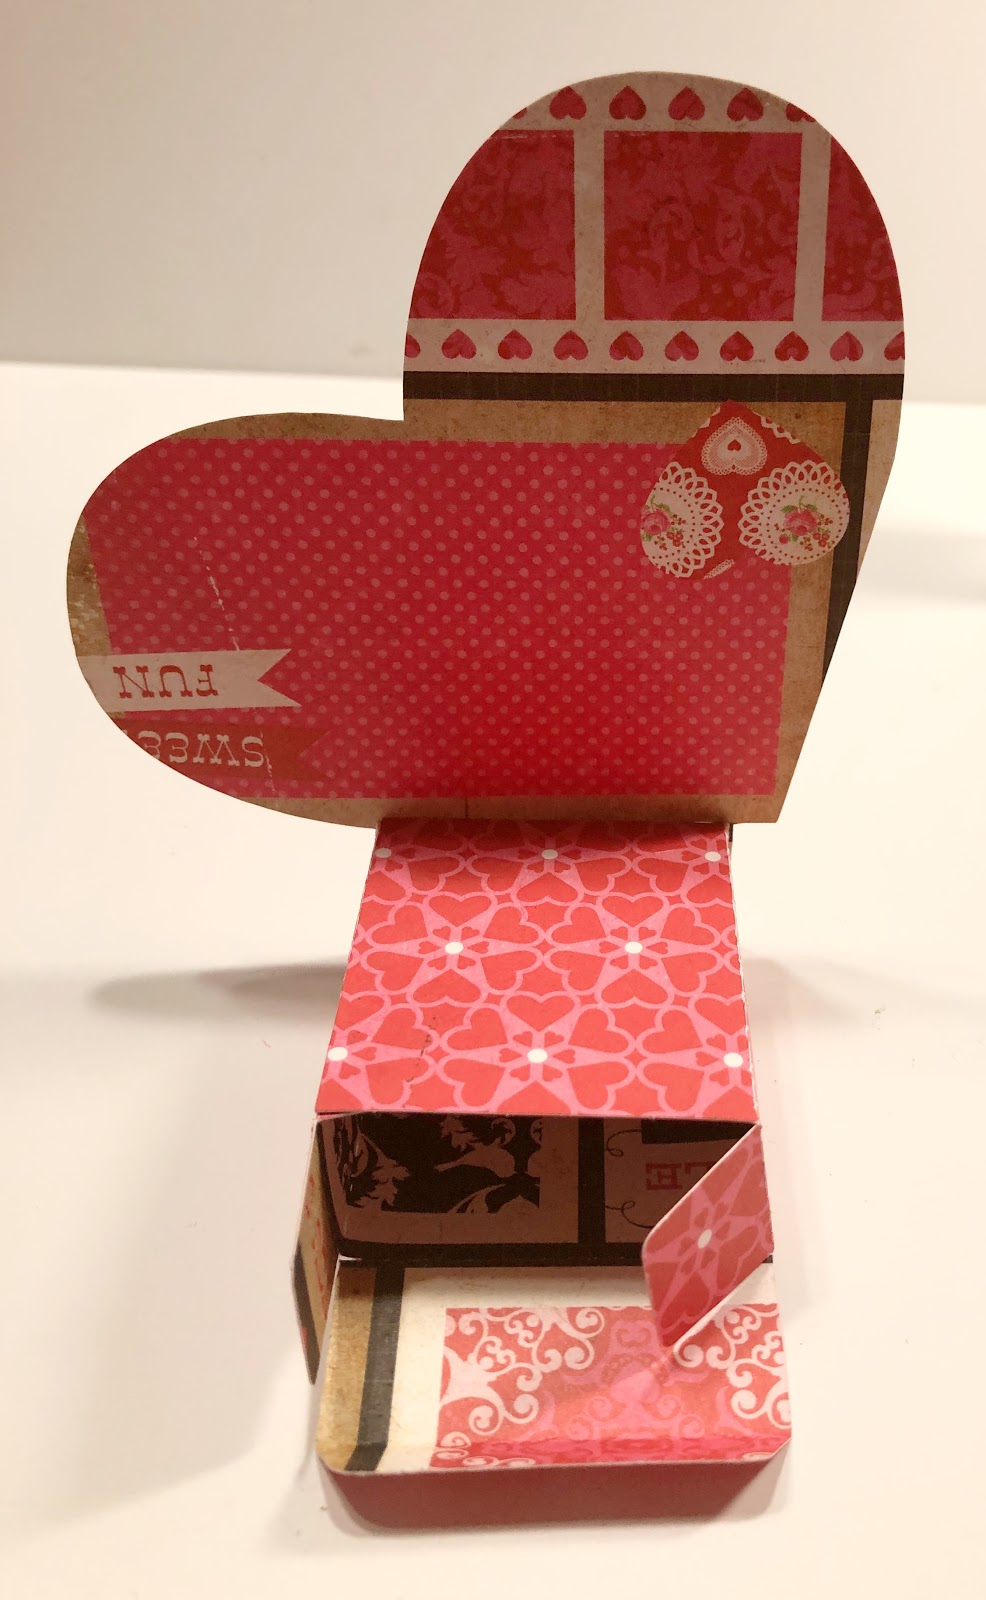
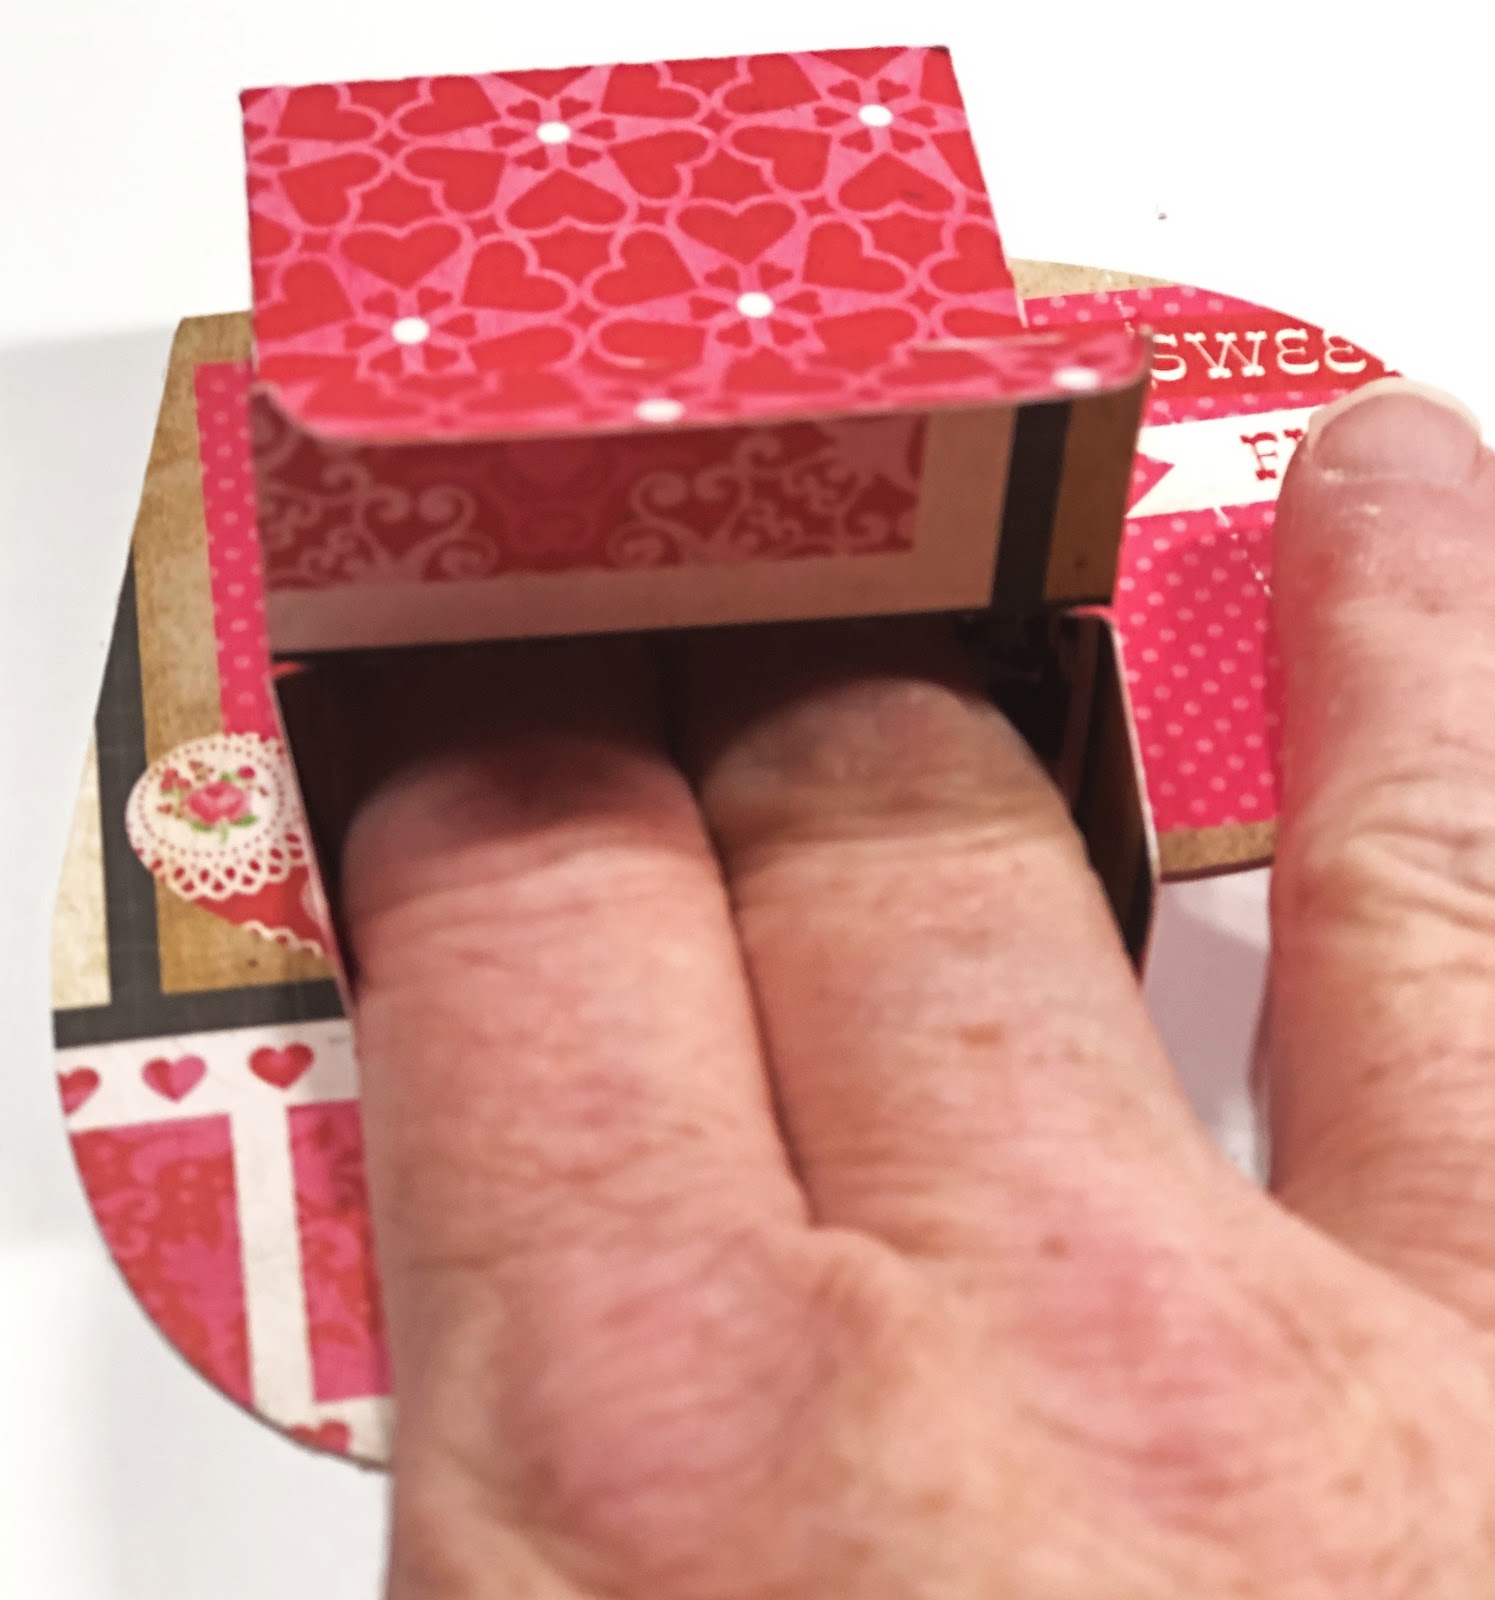
Now you are left with the opening to put your small goodies in. DO NOT GLUE THIS SHUT.
Apply glue to the overlay heart. Lay the overlay heart over the base heart and press it lightly. I found turning the heart face down on the desk and rubbing it on the desk was the easiest way.
Turning the box around, Put glue on the back of the box square.
Again, turning the heart desk down, glue the box part to the heart rubbing the inside of the box to securely glue it together.
Put glue on the back of the rectangle glitter cardstock, glue it to the top of the box behind the heart.
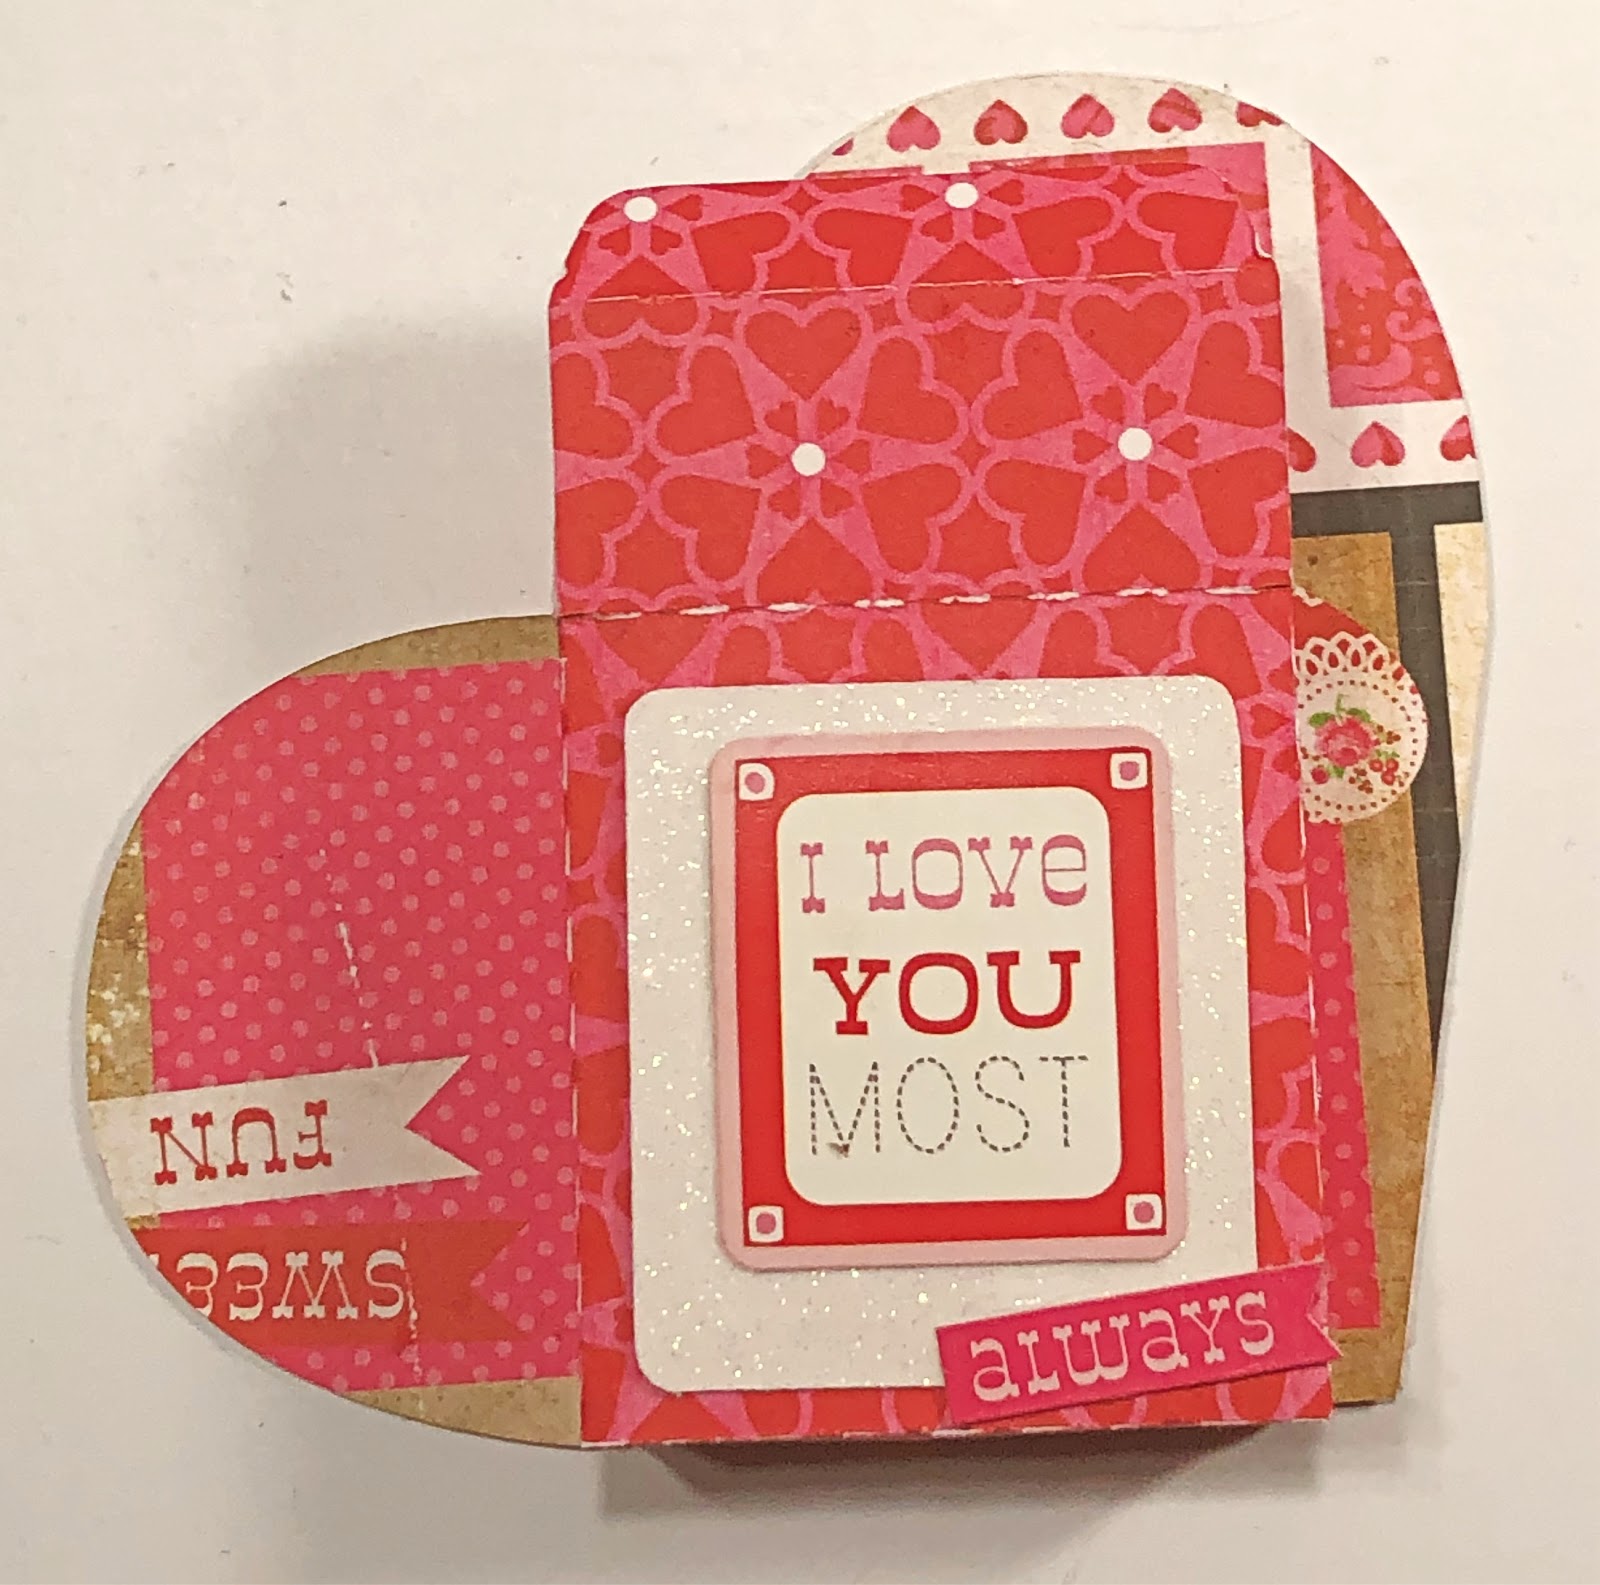
Echo Park's Love Story element sheet has a lot of nice elements. I choose stickers to put on the back of the box to top my box off.Even though the element stickers are "stickers", I also put glue on the back of them since I was putting them on top of glitter cardstock.
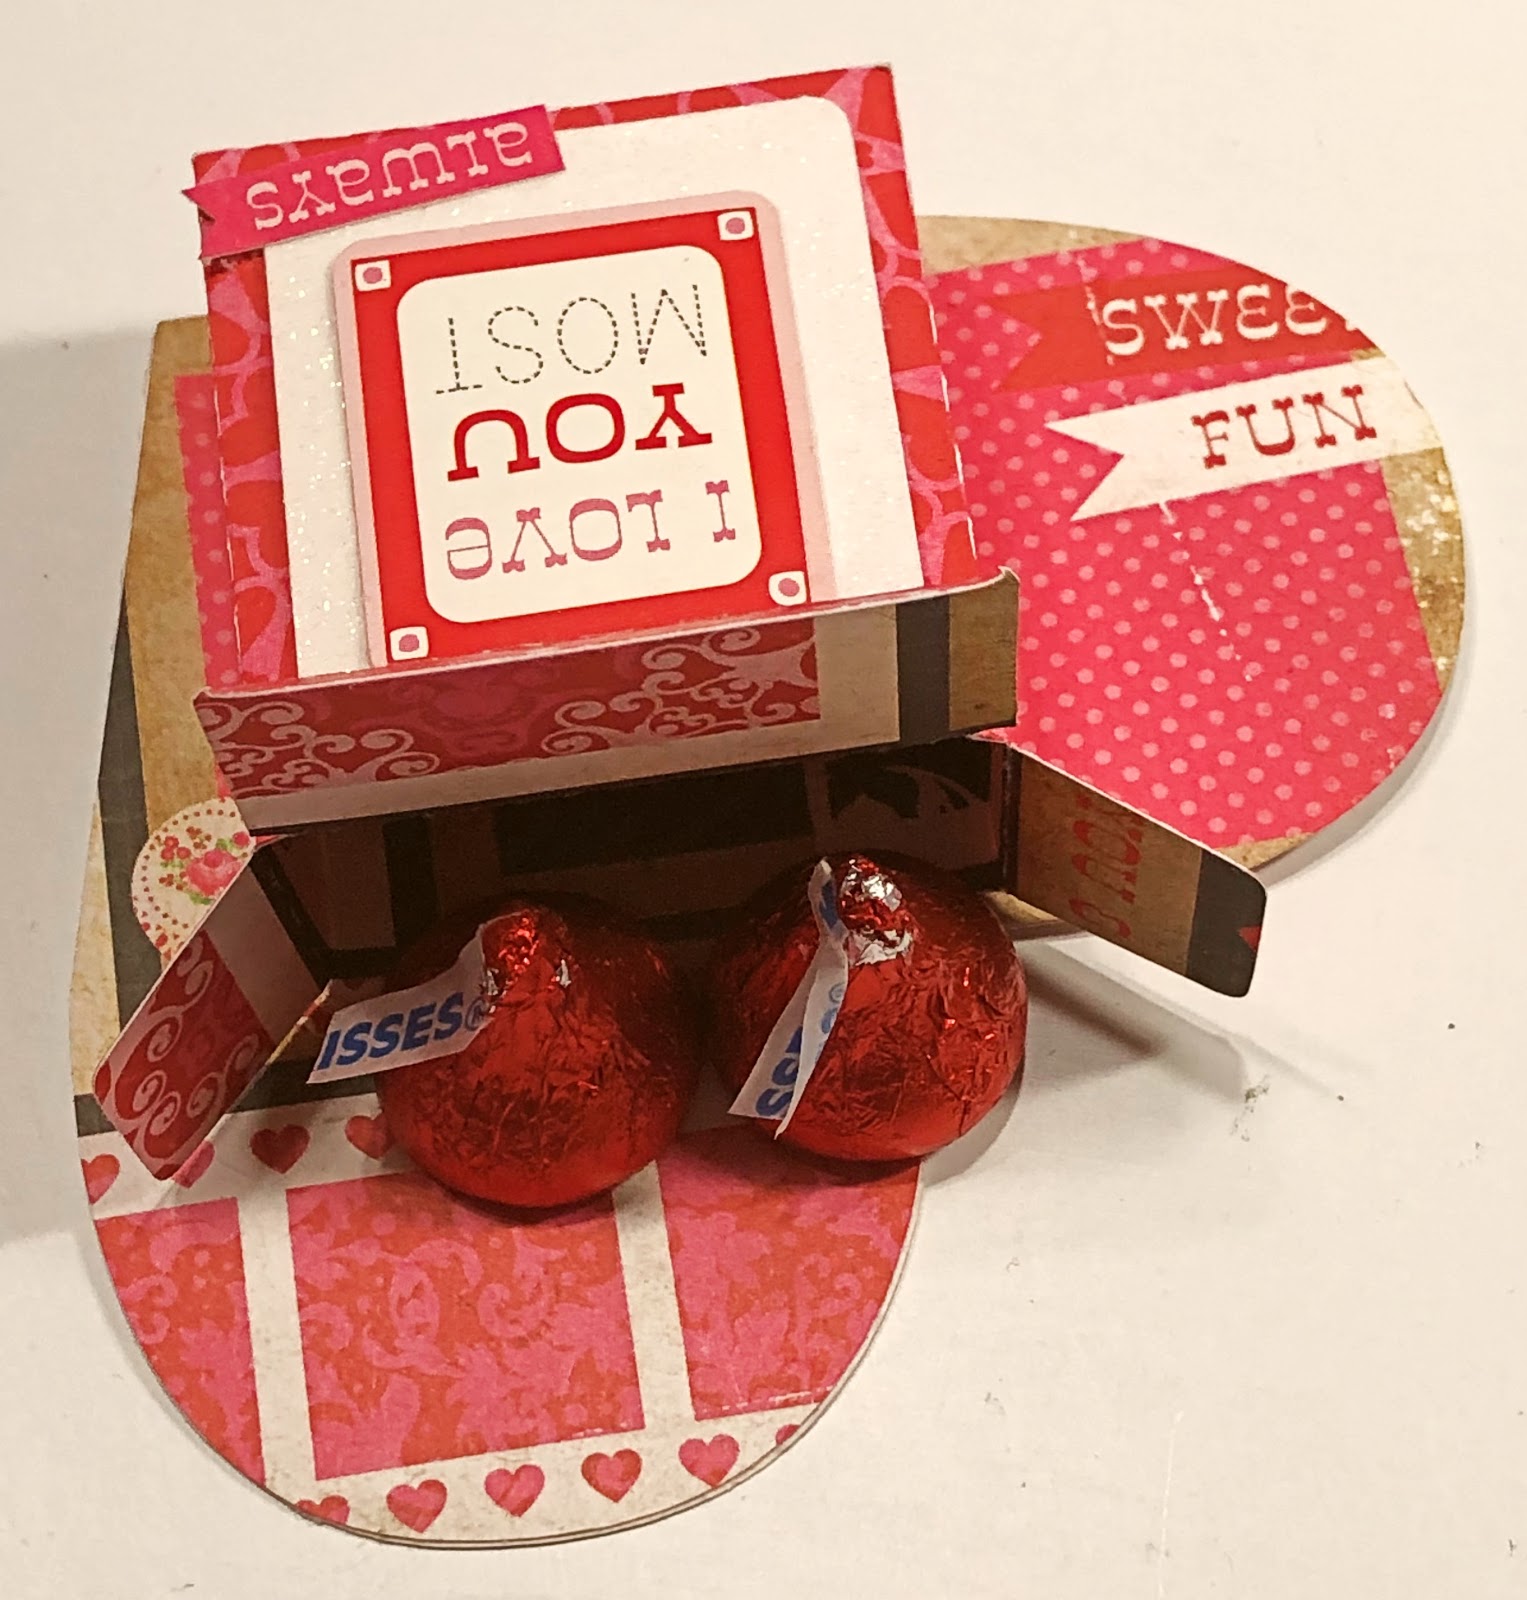
My final step was the fun part of filling it with 4 little Hersey's Kisses.
Here is a final look at my Valentine Candy Box. I hope you enjoyed the tutorial and most of all I hope my Valentine's enjoy them!
-Christi