
Hello 12 X 12 Cardstock Shop Fans! Christi here from Scrapping For Tranquility! I am here today to share a tutorial on a Father's Day card I put together. I hope you enjoy it and maybe you can gain some inspiration for that father figure in your life!

Here is the finished card we are going to make today. It is a pair of overalls with a flannel shirt. Although you can use any pattern paper to make a shirt with. This just reminded me of my dad. When picking your shirt paper, keep your dad in mind and pick what will suit him.
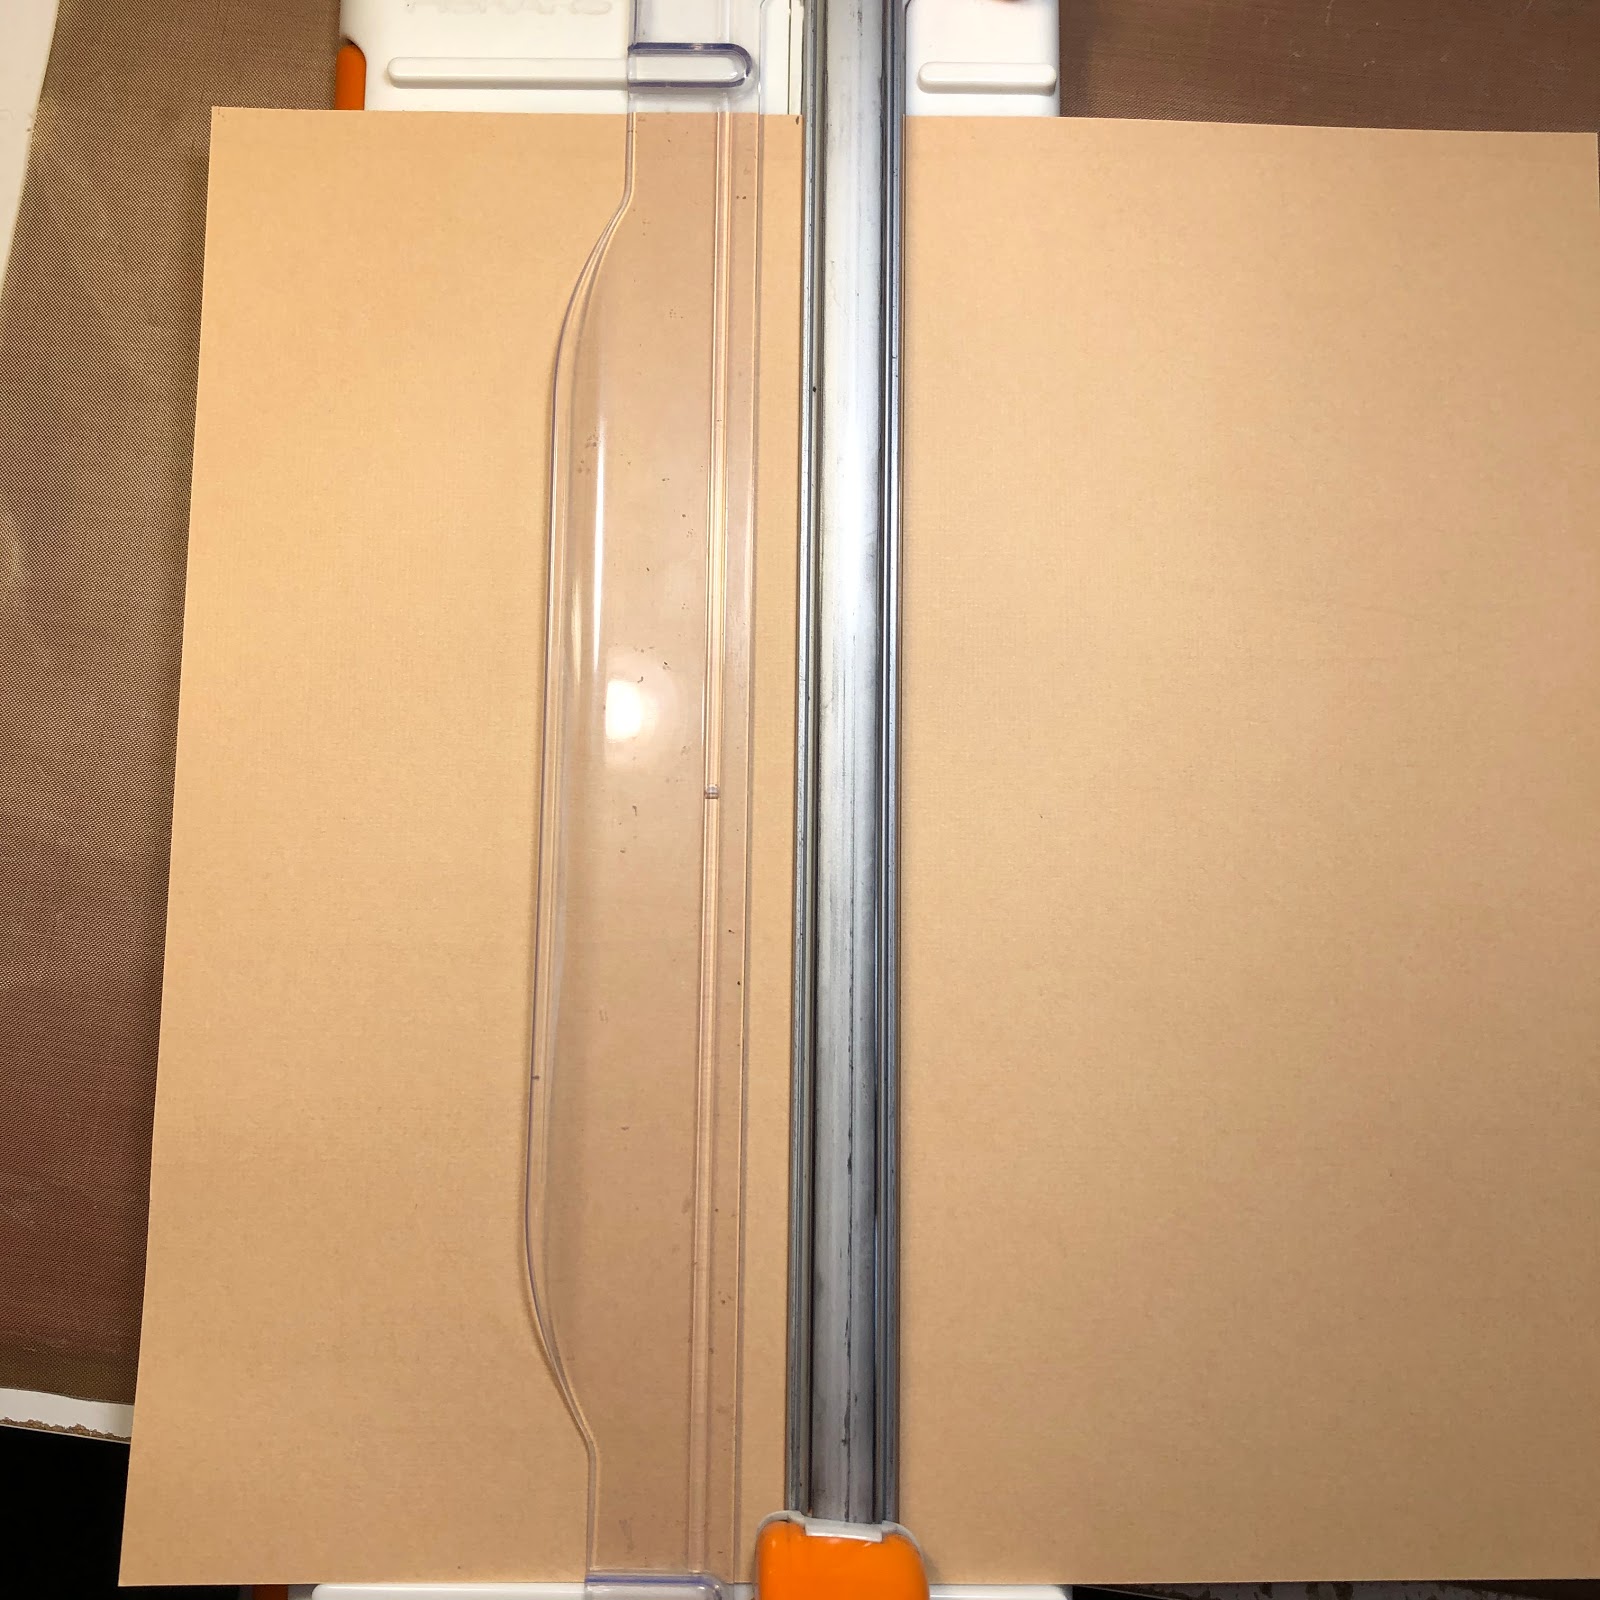
Using a paper trimmer, cut your skin tone down to 7" X 10 " piece.

Score on the 10" side at 5". Now here is where a lot of folks make a mistake, they want to fold into the score valley. That makes your card stock peel and tear, at the fold. Instead, you want to score and fold TOWARDS the MOUNTAIN of the score and use your bone folder to burnish your score line down securely.

Cut a piece of Denim card stock or paper to 5" X 7" .This is the back side of my denim.

Cut 2, 1" wide by 4" long stripes for the straps of the overhauls and set aside for later.

Cut a rectangle for the pocket of the overhauls in the denim paper/card stock at 2 1/2 " X 3". Set aside.

Using a self healing mat and any kind of sharp pick, (I use a quilling pick I bought from Hobby Lobby.) prick holes for faux stitching around the edges of the overhauls, pocket and straps. I tried to keep my holes at around 1/8 " apart. Using a deep blue or any color that matches your "fabric" paper , use a gel pen to dot the holes you made in the paper to highlight them. To finish the stitching take a white gel pen and connect all the dots together like stitches. (See pictures that follow.)

Back to the pocket, on the 2 1/2 " side cut the bottom 2 corners at an angle where you are cutting off triangles. Make sure to use a ruler so these are straight. (please note the stitching in this photo.) I found at this point, it was easiest to stamp my sentiment on the pocket. I used Momento Luxe, Wedding Dress, White to stamp my sentiment for on the denim, it seemed to show up the best.

Cut a 3 1/4" X 5" piece of pattern card stock for a shirt. This here is a plaid from the Echo Park LumberJack Collection. Make a small cut at 2 1/2 " from each side of the 5 " side. This will be the neck of your shirt. Fold the slits back into triangles.

If the other side of your card stock is a different print than your shirt side, cut two triangles to fit the folds and glue them onto the slits as shown.


-Christi
4 comments
Recent Blogs
Featured Blogs
Categories
3D Paper Projects
4th of july
Acetate
Adhesive
American Crafts Cardstock
Baby
Back to school
Banners
Bazzill
Birthday
BoBunny
Cake Topper
Card Making
Card Templates
Cardmaking
Cardstock
Carta Bella
Christmas
Core'dinations Cardstock
Crafts For Kids
Cricut
Cricut & Silhouette Crafting
Cutting Tips
DCWV
Deisgn Team Member Monica Rodriguez
Design Team Member Amanda Lace
Design Team Member An Pham
Design Team Member Annie Chinoy
Design Team Member April Gonzalez
Design Team Member Brenna
Design Team Member Carrie
Design Team Member Cherie Dalton
Design Team member Christi Steinbeck
Design Team Member Jannet Furman
Design Team Member Jessica Perez
Design Team Member Joselyn Sierra
Design Team Member Kandce Johnson
Design Team Member Kandice Johnson
Design Team Member Kate Deignan
Design Team member Kathleen Eifert
Design Team Member Manasa Vavilapalli
Design Team Member Michelle Price
Design Team Member Naomi Krush
Design Team Member Pam Giles
Die Cutting
Dimensional Paper Projects
DIY
Doodlebug Designs
Dreaming Tree
Easter
Echo Park
embellishments
Encore Cardstock
Envelopes
Fall
Father's Day
Foil Cardstock
Foil Quill
From the Owner Lynette
Fun Fold
Genealogy
Gifts
Glama Translucent Vellum
Glitter Cardstock
Graduation
Halloween
hat
Holographic Cardstock
Masculine Crafts
Memento Ink
Mini Album
Mirri Cardstock
Mother's Day
mulberry paper
Neenah Classic Crest
Neenah Stardream
New Years Eve
Paper Craft Tips
Paper Flowers
Paper Party Decor
Paper Piecing
Paper Tags
Paper Weight
Patriotic
Patterned Paper
Princess
Rubber Stamping
Scrapbook Layout
Scrapbooking
Scraps
Shaker Card
Silhouette
Simple Stories
Sirio Cardstock
Skin Tone Cardstock
Spring
St. Patrick's Day
Stamping
Summer
SVG
Teacher Appreciation
Technical Info
Teens
Thanksgiving
Tutorial
Valentine's Day
Vellum
Video
Wedding
Winter
Woodgrain Paper


Hi Robin! That should read 3 1/4" X 5". I’ll make that change in the post.
Cut the shirt 31/4 inches? I dont understand.
Hey Christi. I did visit your card. It’s lovely.
LOVE this card. Where did the denim paper come from? I have not seen before. TIA
Leave a comment